I finally had the time to play with my Christmas tree. Errr, camera?
Or both. It sounds funny to say that I was playing with my Christmas tree, yea? Ok, unimportant. Moving on.
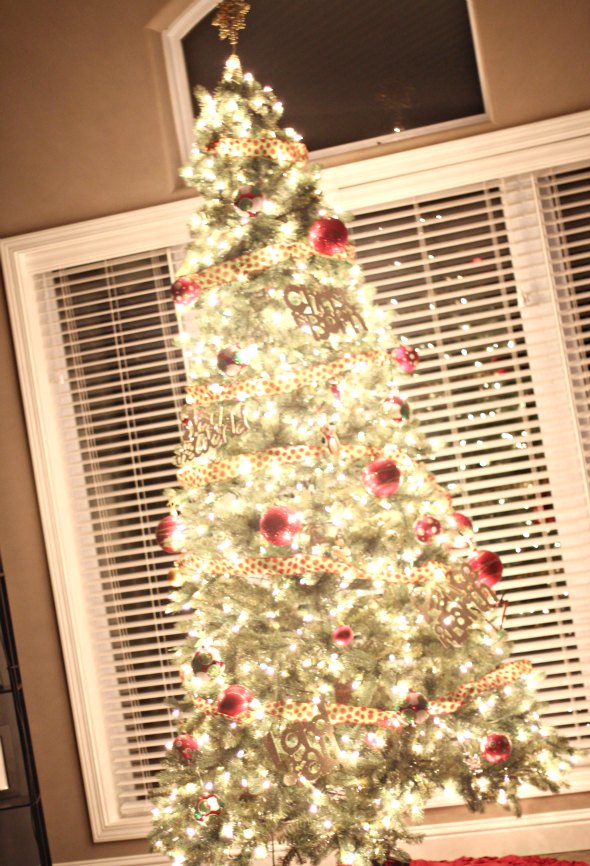
The oh-so-extremely-popular bokeh look is all over Pinterest these days and you know I couldn’t help but give it a try too.
I never did get around to testing out the “Make your own Holiday Card” tutorial by my friend Amy. Lame {me not the tutorial}.
I know. But it involved the children. And anything that involves the children needs to be planned. And takes time. Time that I don’t have much of right now.
But this bokeh Christmas tree stuff? It involved zero moving subjects.
Well, sort of.
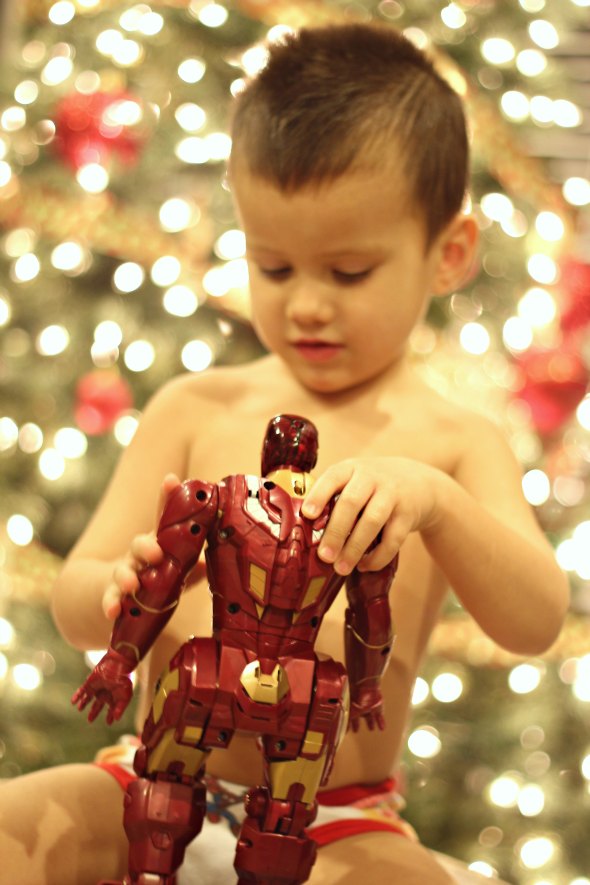
Let’s just say that ironman doesn’t only move, but he shoots wicked spears at you electronic style. Watch out.
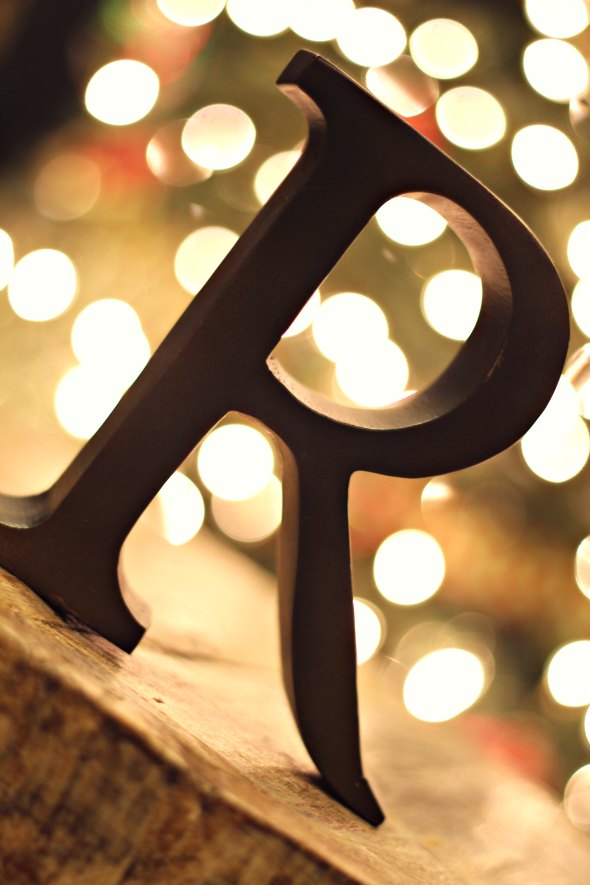
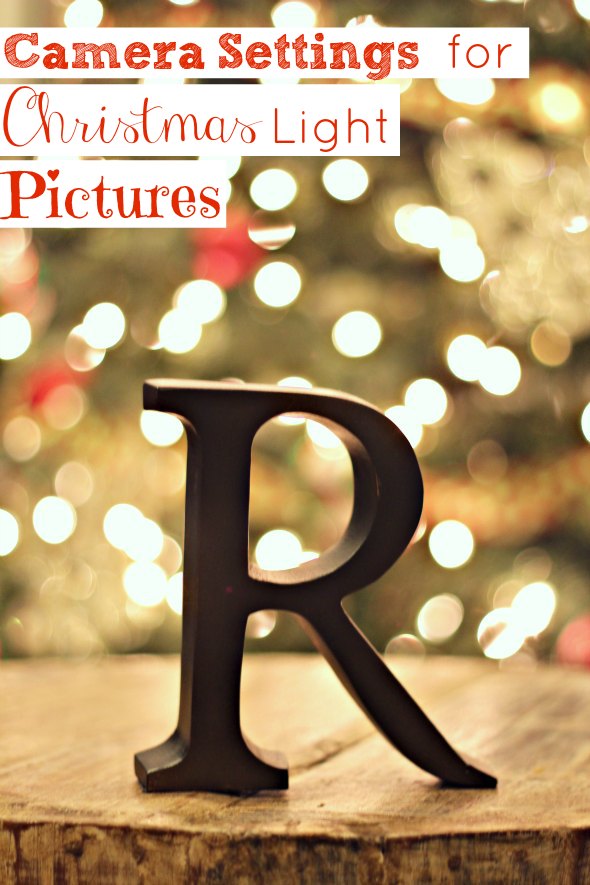
I had much better luck {and a lot less dodging} when I just used this simple iron “R” verses “Ironman”. Ahem.
Ready for the details?
I did these pictures at night. I had the room lights ON while I was shooting these pictures. I tried them with the overhead lights off and it didn’t look bad, but I liked the brightness of having the lights on.
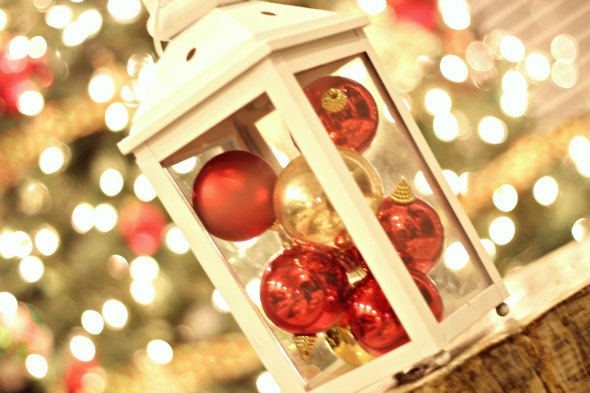
I was using my Canon Rebel T3i and I was shooting with my 50mm 1.8 lens. I shot these in manual mode: ISO – 400, Aperture – f/1.8, Shutter Speed – 1/20 {this was the one thing I played with A LOT}.
The key to getting the blurred light look is to make sure that you are focusing on a subject in front of the Christmas tree. To do this you just press down on the camera button half way until it focuses on the subject {absolutely do not focus on the tree/lights otherwise it won’t work}.
As you can tell, I used a few different objects to practice. All of my objects {or humans} were approximately 5 feet in front of the tree…give her take a foot. And they could be clearer, but I’m a newbie.
You will probably need to play with your shutter speed to get it to turn out. I took pictures with it anywhere from 1/8 – 1/20, but I never went above 1/20.

Again, let’s recap the Camera Settings…
- Canon Rebel T3i/50 mm 1.8 lens
- Manual Mode Settings: ISO – 400, Aperture – f/1.8, Shutter Speed – 1/20
Have you jumped on the bandwagon and tried this bokeh look yet? It’s super easy and you do not need to be a professional to figure it out. Go try it! Better yet…go “pin it”. 😉
For more camera tutorials click HERE and look under the “Photography” heading.
Or check out our HOME TOUR.


This is so funny! I’m just starting a blogging journey and I did a blog post with a similar theme. I’m still learning how to play with my camera too! Your pictures are way better than mine though 🙂
http://www.ten-000-reasons.blogspot.com/2012/12/a-christmas-fail.html
Hey Kelly! That last picture of your boys is too cute! I bet if you tried to do the pics with the lights behind the kids and then focused in on the kids it would work!
That is a great idea! I think I’ll try that. Thank you.
Great tutorial! I appreciate you taking the time to describe what settings to use. I’m getting pretty obsessed with bokeh and my 50mm lens 😉
Don’t you just love the 50mm?! I rarely use any other lens!
I was trying this for hours last night! I wish I would have seen this post! Great tutorial….I’ll be trying again tonight! Thanks!
This is lovely! Thanks so much for the tips to take these bokeh shots.
Stopping by from Thrifty Decor Chick.
Love my 50mm… Easily my favorite lens for any kind of portrait work and bluring out backgrounds 🙂
I did the bokeh effect with the kid for our Christmas cards this year. Using the same lens. On Pinterest I saw a pic of a kitty sleepijg in front of a tree. So I set up the ottoman with a white blanket and grabbed the sleeping toddler and did a few shots. I love the look. Then I tried a custom heart bokeh and I’m mad I didn’t do that for the cards lol.
Love the IronMan!
Great post!! Going to try this out tonight!
I’m so glad you posted this! I’ve been looking for information on how this is done 🙂 Thanks!
I’ve been successful at using my camera phone too! I’ve posted some on instagram! @thecarolinacountrygirl
I wanted to let you know about a couple things that might help you out. It’s almost impossible to hand hold a camera at anything slower than 1/60. A lot of people can’t even do that. If you are forced to 1/20 you should…1) use a tripod 2) If you don’t have a tripod use the camera timer and a stack of books. However, YOU should be able to bump your ISO up a lot more with a T3i and thus also be able to bump up your shutter speed, too. Faster shutter speeds will help you focus on moving targets much, much better. However it also means less light getting into your camera. Thus the need to play around. You shouldn’t experience noise until you reach really, really high iso levels. So bump that iso baby up. : )
Google “depth of field” to get a better understanding of how to achieve the bokeh you want. There is a lot more to it and you’ll really enjoy learning about what it takes to create that look your going for.
Lastly, you may want to check your autofocus a bit because the pictures above of the “R” are out of focus. The focus is picking up on the wood in front of the R and actually focusing on it instead of the R. You got the bokeh you wanted but the focus is blah. This is one problem shooting wide open. You have such a shallow depth of field it’s easy to miss. This is where learning about depth of field will be so helpful to you. In addition, prime lenses are not their sharpest wide open. They are typically sharpest at two stops up. So on that lens it’s more like f2.2 to f4. Shocker, I know. Don’t worry you can still achieve your bokeh and focus. You just may need to back your subject up from the background a bit more. (Because let’s face it, no matter how much you love bokeh you want a focused subject even more!)
Hope this was helpful! All us photographers were there once! : )
Jen, Thanks so much for the tips. I appreciate it. I am green but photography is my passion. Thanks!!
I LOVE YOU. I tried this exactly how u said and it was PERFECT!!! Thank you sooo much I’m a beginning photographer and I’ve been looking for this!! I tried it with a different lens and I couldn’t get it to work near as good. I got a little bit of the brokeh effect but nothing like this.
What exactly is bokeh? I have a T4i and the lowest aperature is 5.6. I have a heck of a time getting the blurred look with it. Any suggestions? Do I have to buy a different camera?
Thanks
Just a couple of pointers from a professional photographer.
I am seeing a lot of people on lots of blogs throwing around the word “bokeh” without a true understanding of it. Bokeh is about the quality of the out of focus areas in the background of your photos, not the out of focus-ness itself. Different lenses have different qualities of bokeh.
What everyone is really talking about is a blurred background due to a SHALLOW DEPTH OF FIELD. You achieve a shallow depth of field when you use a wide open aperture – or f-stop. F1.8, F2, F2.8 … all of those f-stops will get you a shallow depth of field. The more you close your aperture, the deeper the focus goes and the less of a soft blurred look you’ll get. So F8 or F11 will not get you the soft blurred look that you want. It will work with any lens on any camera like this – it’s a fundamental of distance and focus.
As someone pointed out above, with a shallow depth of field, you need to make sure that your main focus point is spot on, because you don’t have any wiggle room in your depth of field.
This is a pretty decent summary of how depth of field works: http://www.exposureguide.com/focusing-basics.htm
Also, just a suggestion, but I’d also really pull back on the “tilt” of the images. Tilting is one of those things that a lot of new folks to photography do because they think it looks cool and artsy, but it’s really not good composition. Stop tilting .. you’ll like your images a lot better. 🙂
Gorgeous photos! Thanks for sharing the settings you used – I have the same camera, and I can’t wait to try it myself!
Hi there!
Would this work with the kit lense?
I got a new camera for xmas,the canon rebel t3i — it is enroute to me now– and have not ordered an extra lense….
Hello,, I’m a beginner on the photography world, what kind of camera you have? I have a Canon EOS Rebel T5 and I cant find or how can I change my shutter speed and aperture? I appreciate the help you can give me, photography is my passion. Thanks.
I enjoy what you guys are up too. Such clever work and coverage!
Keep up the wonderful works guys I’ve included you guys to blogroll.