*Author and House of Rose Contributor – Darci from The Good Life.
Hi there!! I’m Darci and I call [the good life] home as it’s where I share my attempt at “celebrating our everyday” along with a lot of fun projects and some nonsense thrown in there as well! 😉
Mandy and I have been blog-world friends for years and actually connected when she was working on sweet SJ’s nursery! To say I’m thrilled to be contributing today is an understatement! And speaking of nurseries…. I’m currently making a few changes to my little guy’s nursery {he turns two in a matter of weeks!} to make it more of a “big boy” room for his wild toddler self!
I’ve been scheming up a few ideas, but one thing that I KNEW I wanted to add to his room was a meaningful quote for his chalkboard easel.
Growing up, I had several framed quotes and scriptures in my room and I still can recite them to this day. Knowing how important and impactful those were to me, I definitely wanted to make sure to include some powerful quotes and scripture when revamping my son’s room!
So, today I’m sharing just that —- How To Turn Your Favorite Quotes Into Chalk Art!
And for those who want to go the reallllyyyyy easy route and skip any chalk work, I’ve included a chalkboard printable at the very end that you can simply print + frame!
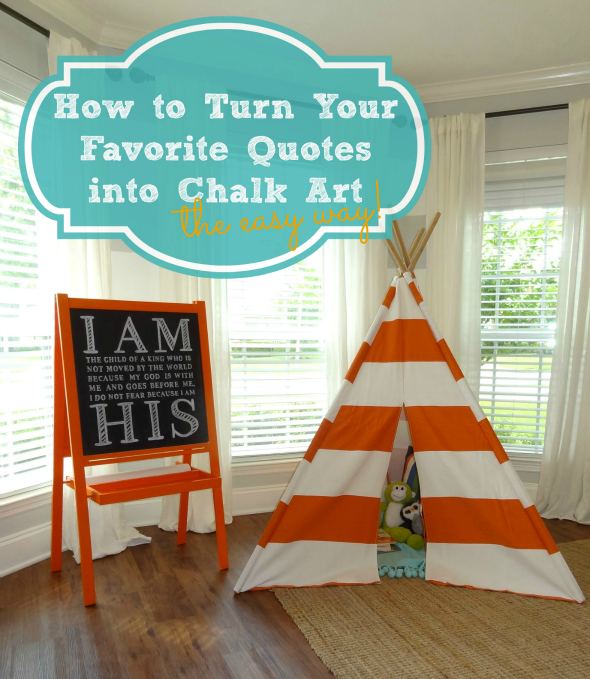
Right from the start, I want to promise you that this IS in fact a fairly easy DIY project. You *do not* have to have mad chalkboard skills to make this look good! Pinky promise (yes, I say that – so lame). Let’s get started!
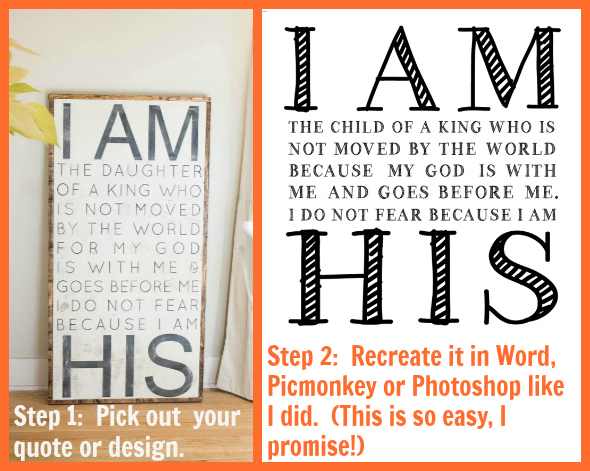
Step 1: You’ll obviously need to pick out a quote or design that you want to use. Pinterest is my go to for just about everything quotes, and I had pinned THIS forever ago and knew I wanted to find a way to incorporate it into my son’s room. Did you read the quote? Those are big words and a powerful truth that I want him to come to know for himself over the years!
Step 2: Unless the quote or design that you have selected is already printable at the exact size you’re wanting (that’s key here — you are literally going to be copying it on to your chalkboard, so it has to be to scale!), you’ll need to recreate the print in Word, Picmonkey or Photoshop. I used Picmonkey for my design and it took all of 5 minutes… if that. Again, it’s very important that you make the image to scale with your chalkboard size so that it’s not teeny tiny or way too big when you go to trace it!
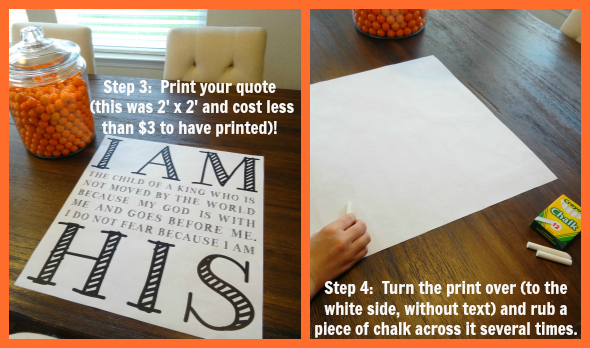
Step 3: Unless your chalkboard is the size of a letter or legal size piece of paper, you’ll need to have your design printed at a local print shop (I used Office Depot and it was under $3 to have a 2 foot x 2 foot print made). I’ve printed far bigger before and have never spent more than $4! How awesome is that for a fairly large print?
Step 4: Once you have your print in hand and are ready to start, you’ll turn the print over to the blank side and rub a piece of chalk across it several times to coat the back with chalk dust. Make sure it’s coated well.
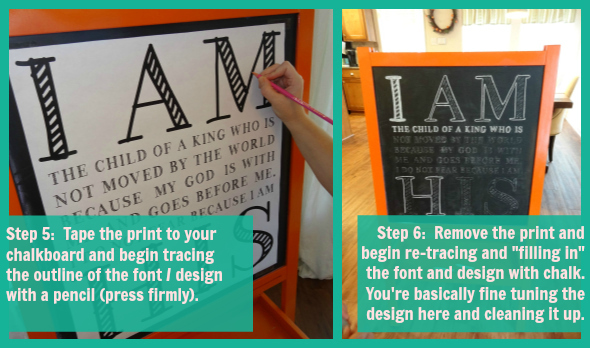
Step 5: Next, you’ll tape the print to your chalkboard as shown in the photo below, making sure to place it exactly as you want the design. Begin tracing the outline of the font / design with a pencil… making sure to press firmly as this is transferring the chalk to the chalkboard and creating an outline that you’ll re-trace and fill in with chalk.
Step 6: Once you have everything traced really well, remove the print and being re-outlining with chalk. QUICK TIP: I used a regular, manual pencil sharpener to keep my chalk sharp since the font I used was detailed and small. Continue tracing and filling in / shading in the font until you’re happy with it!
Step 7: Once you’ve reached this last step, the chalkboard will already look really good, but you’ll have quite a bit of leftover chalk residue and areas that just look messy. Take a wet cloth and a handful of q-tips and “erase” and perfect those areas. Assuming your chalkboard will be out of reach of little toddler hands (ha!), you’re done!!! If your chalkboard runs the risk of being swiped by the hands of a little one, then you’ll want to cover it with a clear coat of Bulls Eye Clear Shellac to seal and protect the design (note: I sprayed the entire chalkboard easel, orange and all, seeing as how it’s a clear sealant coat).
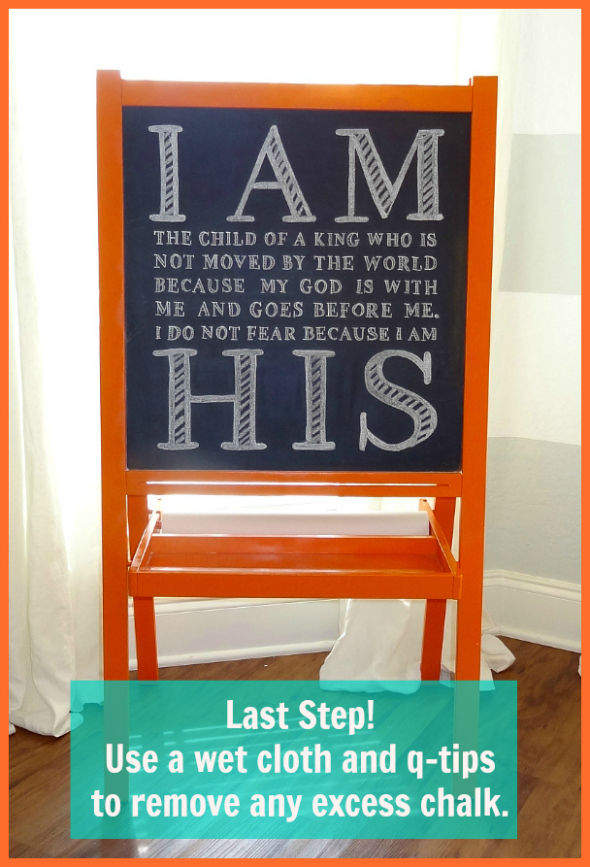
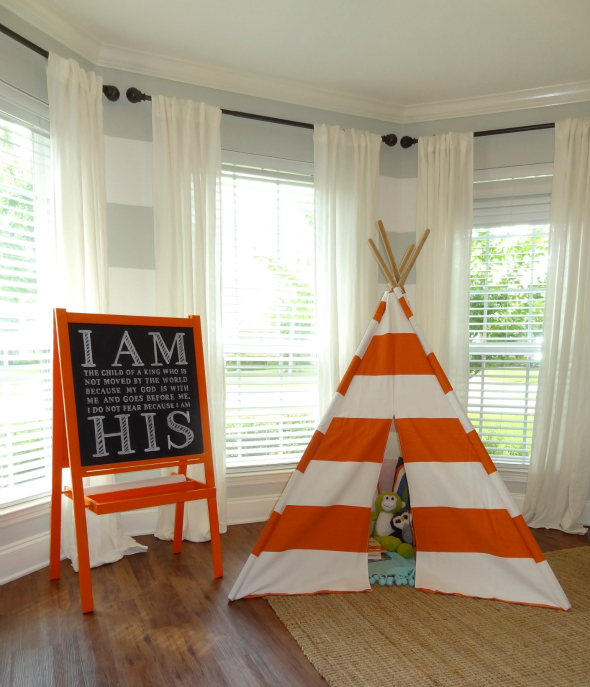
Here are a few photos of the finished product in my sweet boy’s bedroom! I love how it turned out! It really and truly makes my heart happy to read these words over and over again every day. And for now, we’ll read the words to him, but I know it won’t be long until he’ll be reading like a champ and will know this by heart!!!
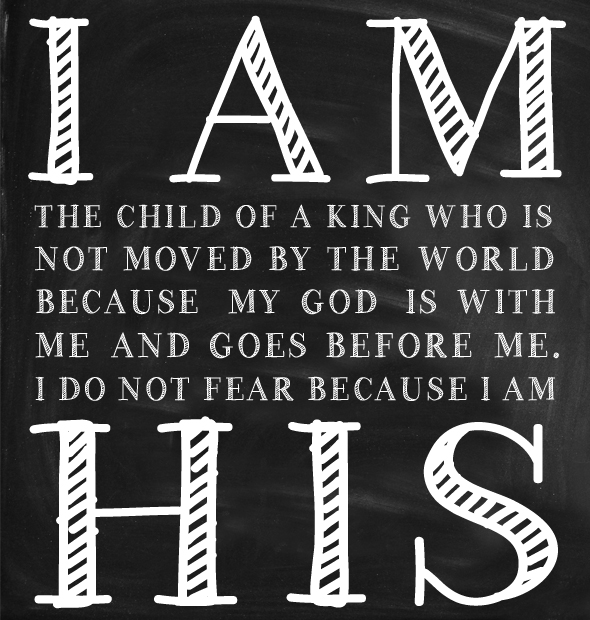
{See below for the chalk printable I’ve included if you want to skip all these steps and just print and frame one for yourself!).
Here’s the printable (just right click and save)!!
It’s been such a pleasure to get to be a part of House of Rose today! I sure hope everyone learned something knew via this little tutorial and realized how easy it is to make fabulous chalk designs all your own!
___________________________________________________________________________
Visit Darci and her sweet family HERE!
ps Darci is the wonderful one that I stole the grey and white nursery stripe idea from! 😉

Is Darci not the cutest?? She is so creatively talented! Here’s hoping I can attempt something like this for my little man’s room.
I have done this before and it works great. But since I didn’t want to risk losing my quote to curious children fingers, I used a small paint brush and painted over the chalk with white paint! I’m sure you could use a paint pen too for easier tracing…have a great weekend!
Thank you so much for sharing this, Darci! I’ve been wanting to know how you make your cute chalkboards! Awesome!!
Great Job Darci! I feel like I need to hit up Ikea asap for that cute easel! Thanks for the tutorial and for my new chalkboard addiction! 🙂
That looks amazing, and seems pretty easy!
Oh my word, I LOVE this! Not sure I have enough time to do it right now with my lack of sleep and 3 rowdy boys, but pinning it for future reference for sure!
Darci
I love reading your blog and seeing all your great projects!
You are so talented, but more than anything, I love seeing the beautiful God loving person & mom you are!
Love this! I too have this Ikea easel and am going to have this be my next project!
Does the sealant make the chalk board shiny? I have to seal half the board and leave the other half as s chalkboard. I don’t want half to be shiny and the other half dull.
I was wondering. is your tracing pencil sharpened? it didn’t rip through the paper when you were tracing over & over it? just wondering! about to get started on one of these for my daughters 1st bday in sept! 🙂 thanks!
The chalkboard art is awesome and I am gonna try my hand at recreating it. But tell me about the tepee. Was that a diy project? If so, what did you use for the poles?