If you are looking for ideas to take up some wall space, but don’t know what to hang?
I have the perfect solution. And it’s totally on the cheap.
<<<DIY WALL ART FRAME PROJECT>>>
Step 1:
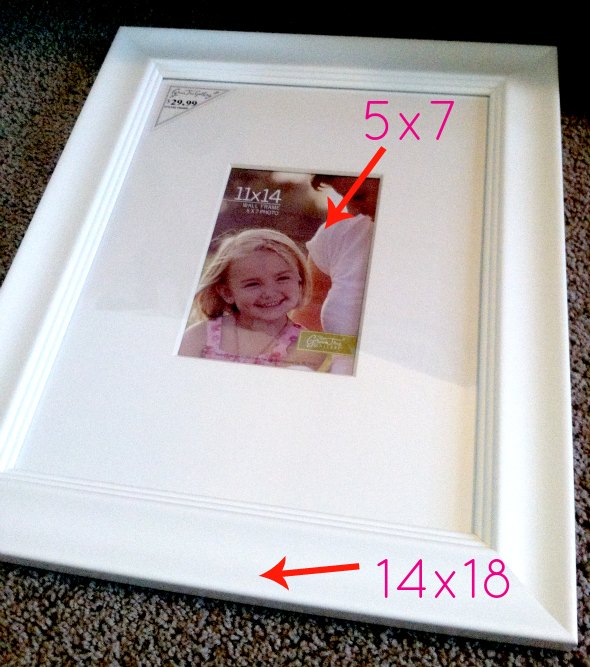
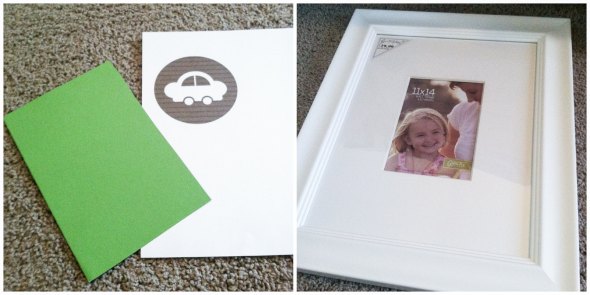
Find a few decent sized photo frames. I found mine at TJ Maxx for SUPER cheap.
They hold 5×7 photos in the mat or 11×14 without the mat. The actual size of the frame is 18 inches tall by 14 inches wide.
Truly, the size of the frames is not a huge deal because this entire project can be tailored to fit ANY size frames.
Step 2:
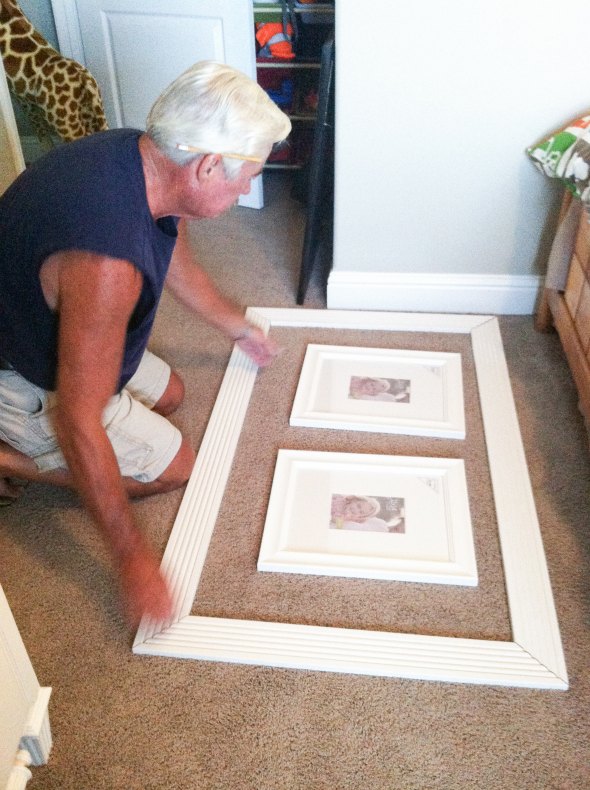
Lay your frames out on the floor. I put a few inches of spacing between them, but not a ton.
Use trim {I had mine leftover from when we built our fireplace} and decide how big you want the exterior frame to be.
Again, you can make this as big or small as you want.
Step 3:
Call your dad.
KIDDING! You can do this, I promise.
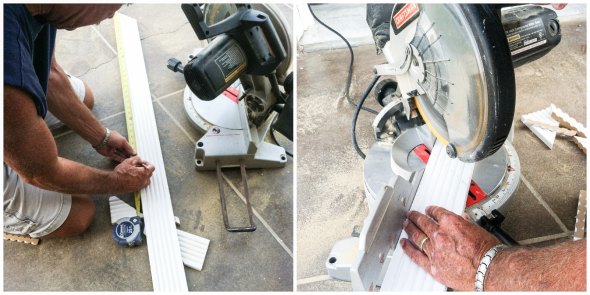
Cut your trim to the exact size you need for your frame.
We used a circular miter saw {I don’t know saw lingo} to do this and the cuts were super easy. This does not take extreme talent to do.
Step 4:
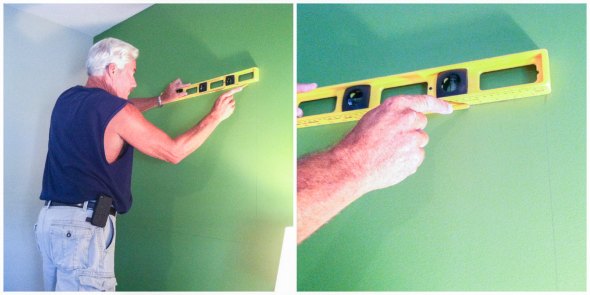
Use a level and outline on the wall approximately where your exterior frame will be placed.
It doesn’t have to be perfect because you are going to have a few inches of trim to cover the painted area. For this reason I usually suggest drawing your line to be the size of the inside of the exterior frame.
Step 5:
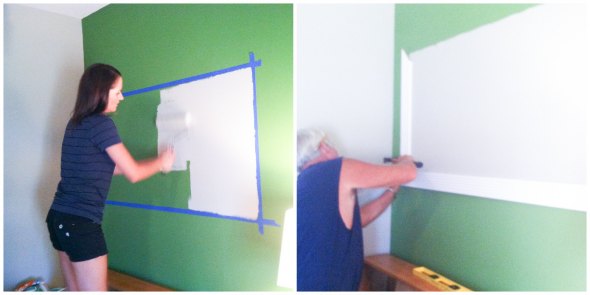
Tape off the exterior frame area and paint.
I used paint that matched the lighter colored walls in my oldest son’s room {Lambs Ear by Valspar Signature from Lowes}, but you can technically use any paint color you want.
You can even get creative and use a stencil {which I did when I did something similar to this in the basement and it turned out fabulous}. Whatever you use {plain color or stencil} it will be the background of your exterior frame.
Step 6:
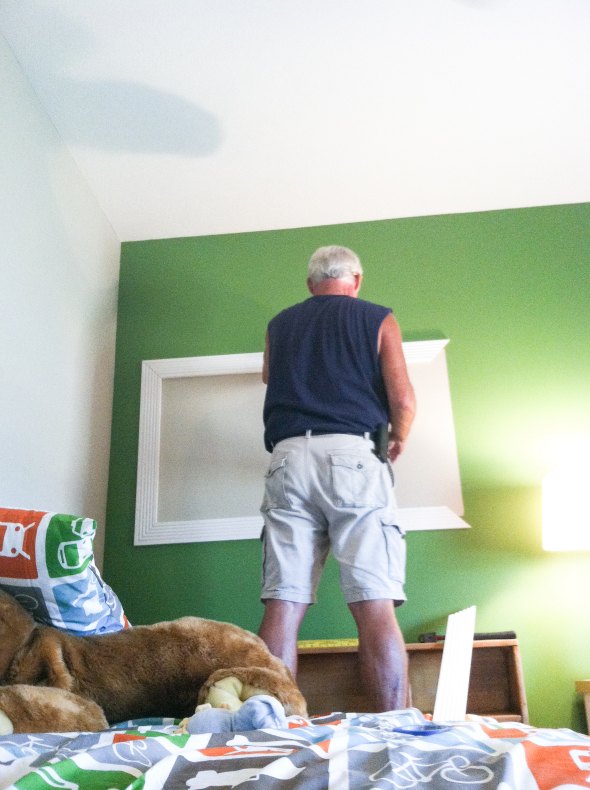
Put up the trip pieces that make the exterior part of the frame.
You can do this with a hammer and nail, but I will say it is way easier to have two people helping. One to hold it up and the other to nail it in place.
Step 7:
Fill your smaller frames with something. This is where you can get creative.
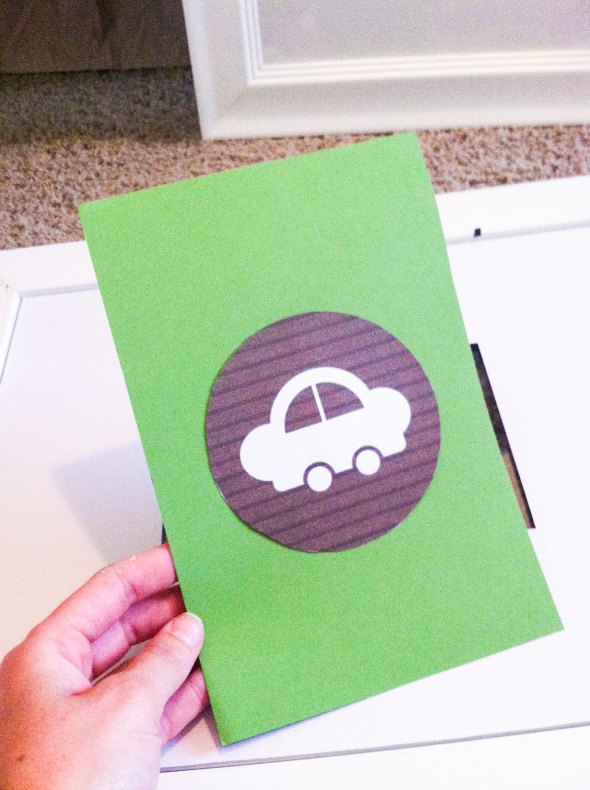
I had nothing to put in my frames…so I decided I would google “free transportation clip art” and I found some cute little cars. I literally saved the images and then just printed them in color.
I added colored card stock behind the circled cars. I just cut the card stock to 5×7 size and taped the car paper in the center.
Yes, I said taped.
Step 8:
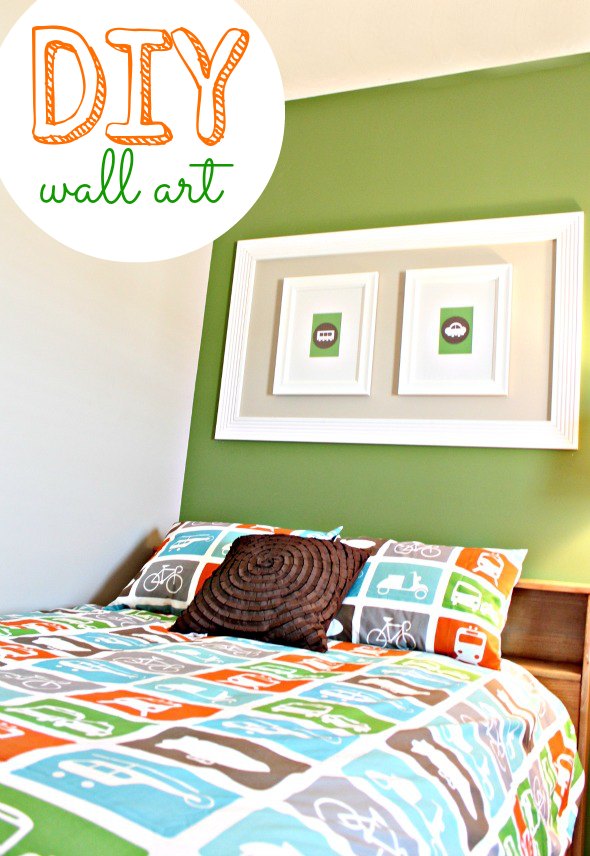
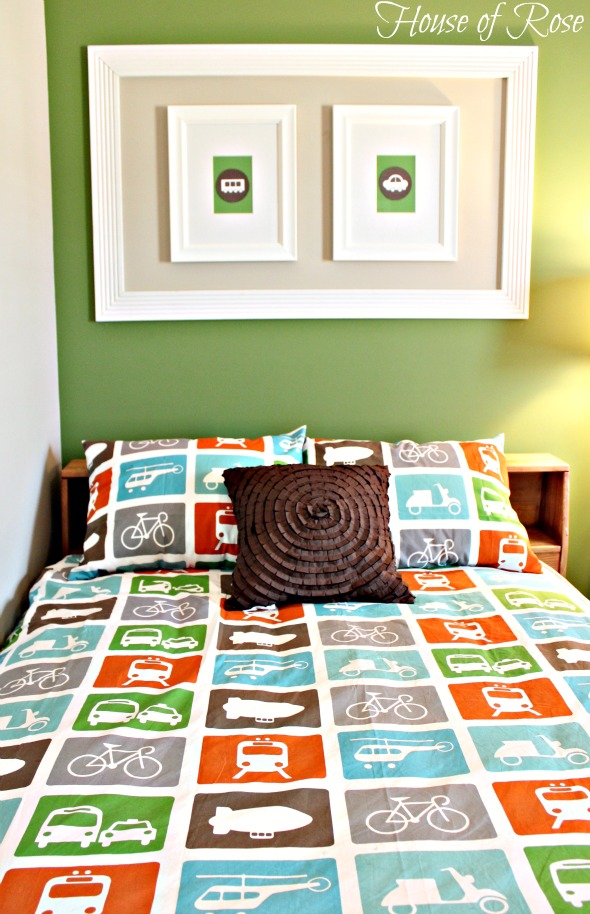
Hang your smaller frames inside your big exterior frame.
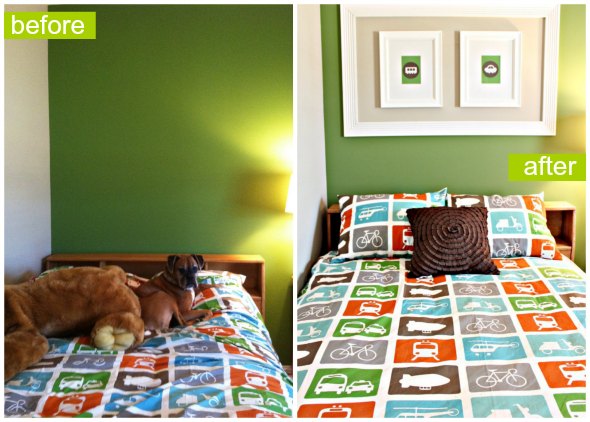
There you have it…an easy way to add wall art without breaking your budget.
This entire project cost me $23 {which was the cost of the smaller frames}. Everything else was stuff I had on hand. Even if you have to buy trim…you can find trim for $6 – $20 per piece. This project took two 8 foot pieces.
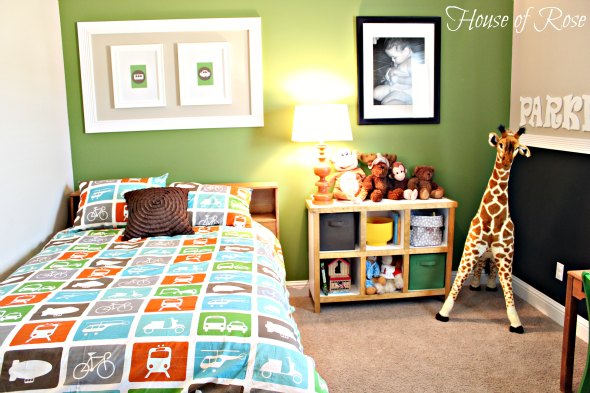
To see the entire big boy room just click HERE. Or if you are interested in learning how to stencil a canvas {another cute, but cheap room idea} than click HERE.
For more DIY and home decor tips sign up for my free monthly newsletter below….
[ois skin=”Home Tour 2″]
To see more of our home…
Linking up here:


This is such a great idea! Thanks for sharing.
Thanks so much Laila!
Darlin’, that’s definitely a miter saw, not a circular saw. Good thing your dad was there to help. 😉 It looks awesome! I especially love the before and after with the bed unmade/made — it totally adds to the effect.
You are correct! LOL! Thank you for pointing that out so I didn’t continue to look like a complete fool! Haha! Although, you would be proud to know that I did use the miter saw (and I prefer it over the circular saw). 🙂
How cute–I love it! I really need to do some cheap wall art for my son’s room and this project is perfect! Pinning and hopefully going to try this summer. Would you mind linking this to my blog hop party? Thanks!
http://carriethishome.com/2013/05/frugal-crafty-home-blog-hop-24/
Love this idea. I wish I could hang something like that over a bed but we live in Calif. Not earthquake safe. I am going to do this though and hang it somewhere in the room. Thanks for the tutorial.
Nice and it’s very lovely. Such a homey design. And easy to make too.
I love this idea! This would be perfect for Mason’s big boy room. Thanks for the tutorial. Looks like I have one more thing to add to the “honey do” list.
My “daddy do” list is overflowing…he probably is going to disown me soon. 🙂
What a great idea! I love how easy it is and yet takes up a lot of space. It looks perfect in the room!
i just found your blog via Pinterest. love everything about it.
just spent the last hour at work….not working…but going from page to page of your blog 🙂
Awww, thanks so much! Glad you are here!
This is totally awesome!! I love this idea and I think we can use this in our room just to give it a little twist and to have a different look. Thanks for sharing this. By the way, we have the same room color.