all of my DIY, decorating, & craft projects
Mandy & I are real life friends & I can tell you from experience, that her & her family are just as adorable in person as they appear in all of her posts! Mandy has become such a dear friend to me & I feel so blessed to have her in my life!
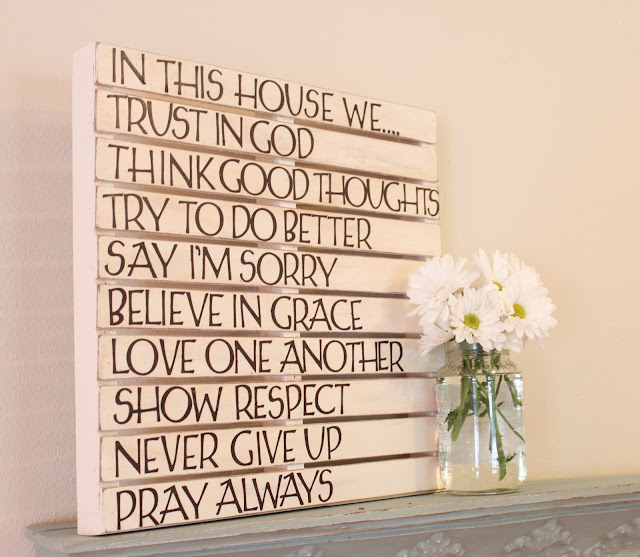
I’m kind of obsessed with typography art & have slowly taught myself how to make some typography signs of my own as opposed to buying them in the store. Plus, making them allows me to put a personal touch on the signs & also gives me the opportunity to personalize them for friends as well.
First you start out with a blank board….
I purchased a 4 foot whitewood board that I bought at Lowes for $3.98 & had my dad cut it into 4 pieces. Each piece measured out to be approximately 11.5″ x 12″…
Once the board is painted, I like to take some sandpaper to it & distress the edges & the top of the board as well to give it kind of an aged or vintage look (this step is completely optional.)


Love it! So cute! I soooo need a Cricut!
Looks like I need to be asking Santa for a Cricut this year!
OH MY GOODNESS… I am so excited to have read this tutorial. I just got a Silhouette and can TOTALLY make these happen. What a great post! Thanks for linking up mama!! Merry Christmas!
I was wondering what font was used with your cricut… I love it 🙂
I didn’t make it, but you could find out by contacting Tonya from http://www.loveoffamilyandhome.net/. She made it!
Thanks for this tutorial! I got a cricut for Christmas and am slowly learning the ropes. I love the typographical art and will be trying this soon! 🙂
I love this project and I have a cricut already. I have not ever used the mod podge. Would you recommend sealing it polyurethane?