When my best friend called me at the beginning of September and told me she was going to move her wedding up from May 2015 to October 2014…my heart might have quit beating for a few brief seconds.
Only because October was nearly eight SHORT weeks away. Or maybe less.
My type A (also known as crazy) personality started thinking, “How, how how how how how…will this work?”
Of course, that’s not the words that came out of my mouth when I responded to her. Because you never tell your best friend who wants to get married in 2 months that it’s not possible. Nope.
In fact, you tell her the opposite. You tell her…”ABSOLUTELY DO-ABLE!”
And then you hang up, panic and frantically search Pinterest for wedding ideas. Ha!
Luckily though, my best friend has this same little type A gene I have…and she beat me to Pinterest. She knew exactly what she wanted her wedding to look like.
Small. Intimate. Back yard setting. Lots of lights and candles. Simple. Gold. Elegant.
Those are just a few of the words that come to mind when she showed me how she envisioned it. And I’m here to tell you…. when all of her ideas came to life? It was magical.
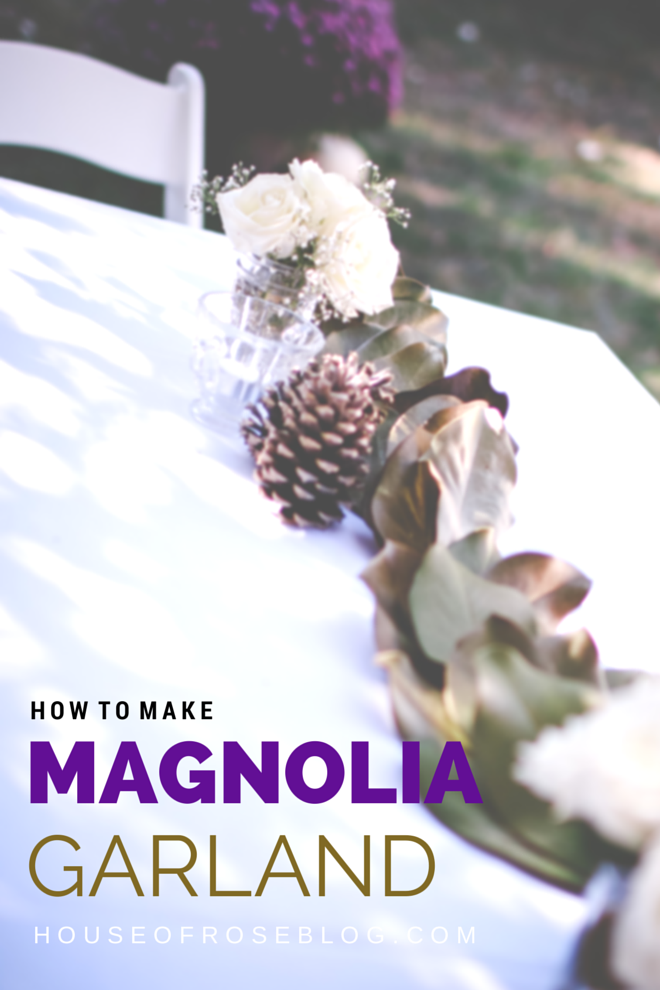
One of her ideas for decor for the long tables was to add magnolia garland down the center.
Listen, when she said “magnolia garland” to me… I had to google it. I don’t know anything about trees, plants, flowers or magnolia anything. Ha!
But once I finally understood what she meant, I knew it would be the perfect touch for the tables.

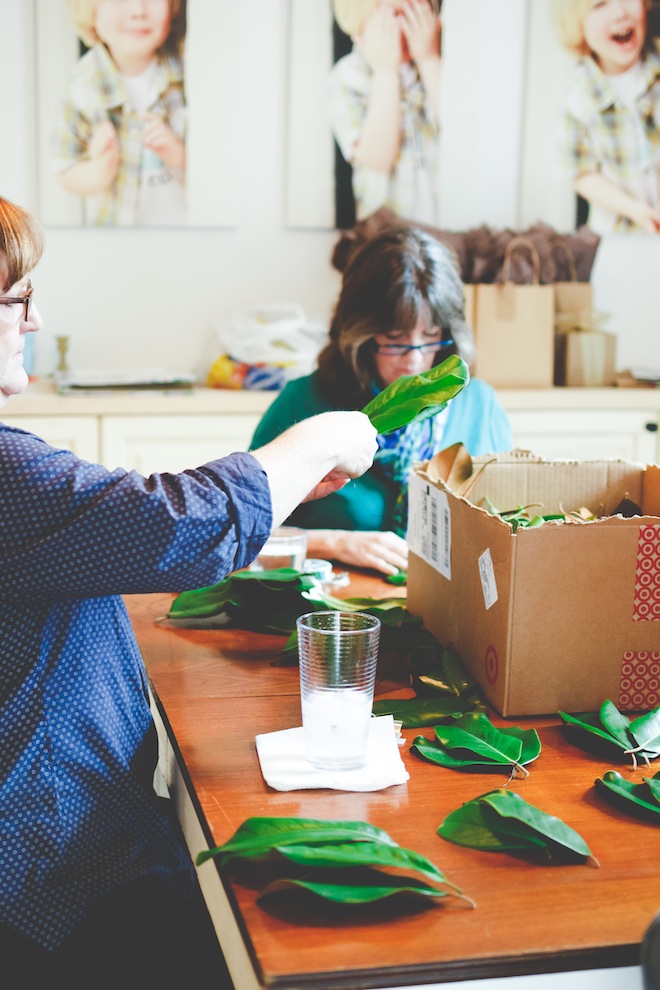
So, one Sunday afternoon a few of the bridesmaids and the moms…set out to make this magnolia garland come to life. We also had a few boy helpers under the age of 7. As you can see, they weren’t exactly as helpful as we had hoped.
Darn Minecraft.
The magnolia garland turned out so good that I thought it would be fun to share here with y’all.
Especially with the holidays coming up…this might be something you could use to decorate your house or holiday parties with.
What You Need
1. A Magnolia Tree. Don’t worry, if you don’t have one, ask a friend, neighbor, friend of a friend. Someone you know probably has a magnolia tree and will be willing to let you use some leaves from it. And you know what else? Tree leaves are free.
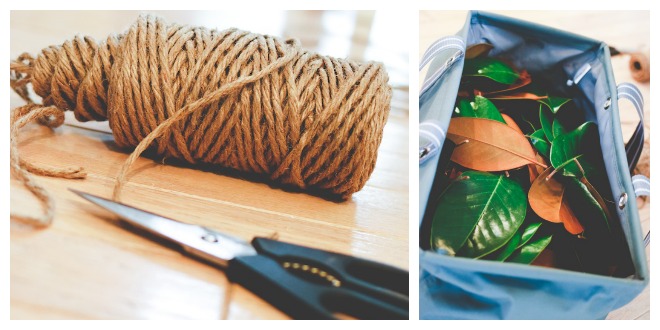
2. Twine
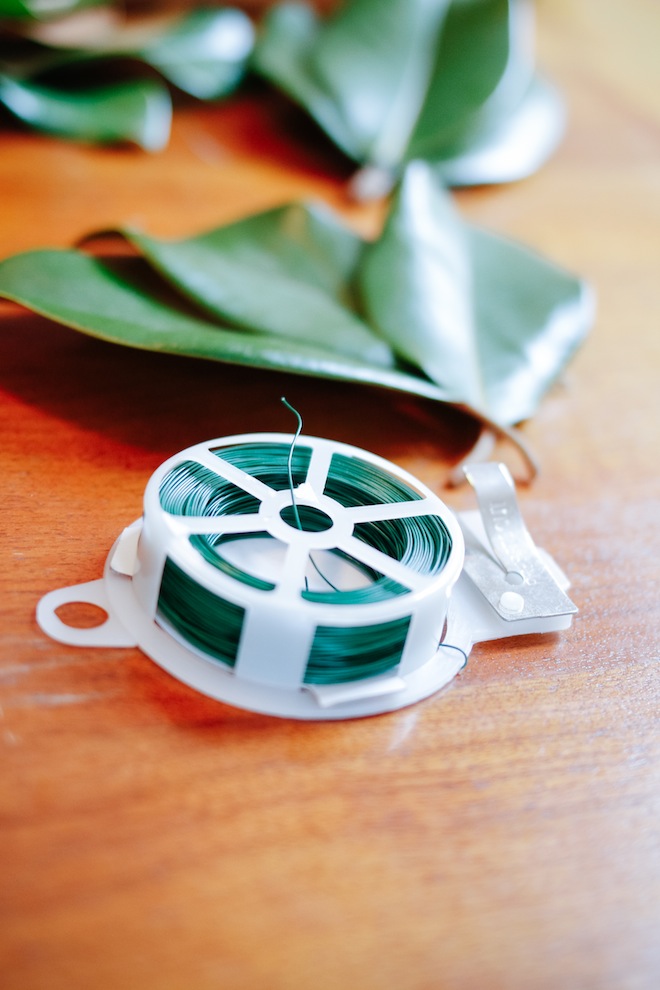
3. Thin Green Wire
4. Gold Spray Paint
5. Scissors
6. A Tape Measure
How To Make It
First, figure out how long you want it to be. We had six 8 foot tables so we cut our twine in 8 foot pieces.
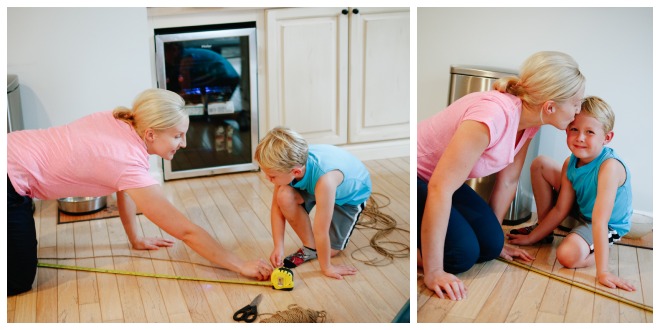

News flash: when you get out tape measures and bags of leaves? Boys will flock.
I wish I would have known this trick earlier in the day. We could have bribed them to behave with bags of leaves. Brilliant.
Ahem.
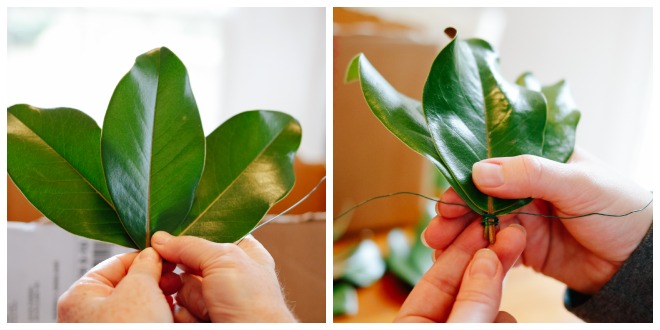
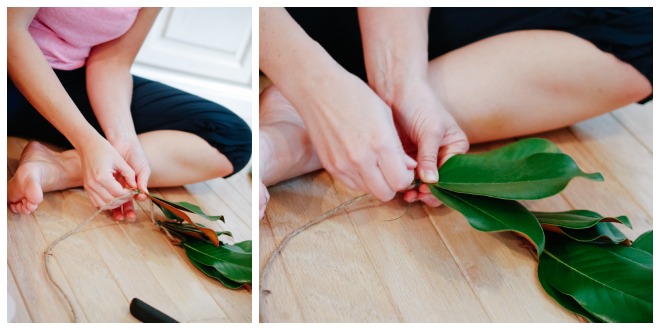
Next, group together 3 leaves. Try to find 3 leaves that are similar in size.
Spread them like a fan and take the green wire and tie them together at the stems. Make sure you leave wire on each side so you can attach the set of leaves to the twine. See the image above on the right.
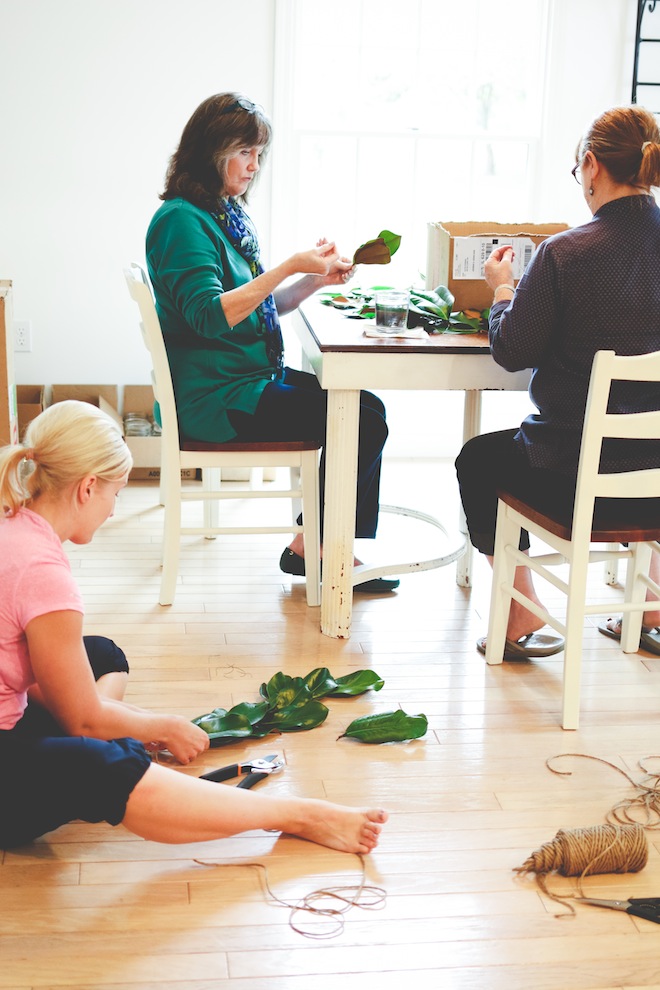
We had 2 people making leave sets and then a few of us were attaching them to the twine. This doesn’t necessarily take more than one person, especially if you aren’t making more than one strand. But, since we were doing 8 strands…more hands helped make it go quicker.
Take the leave sets (start at the top of the piece of twine) and twist the wire so the leave sets are secured to the twine.
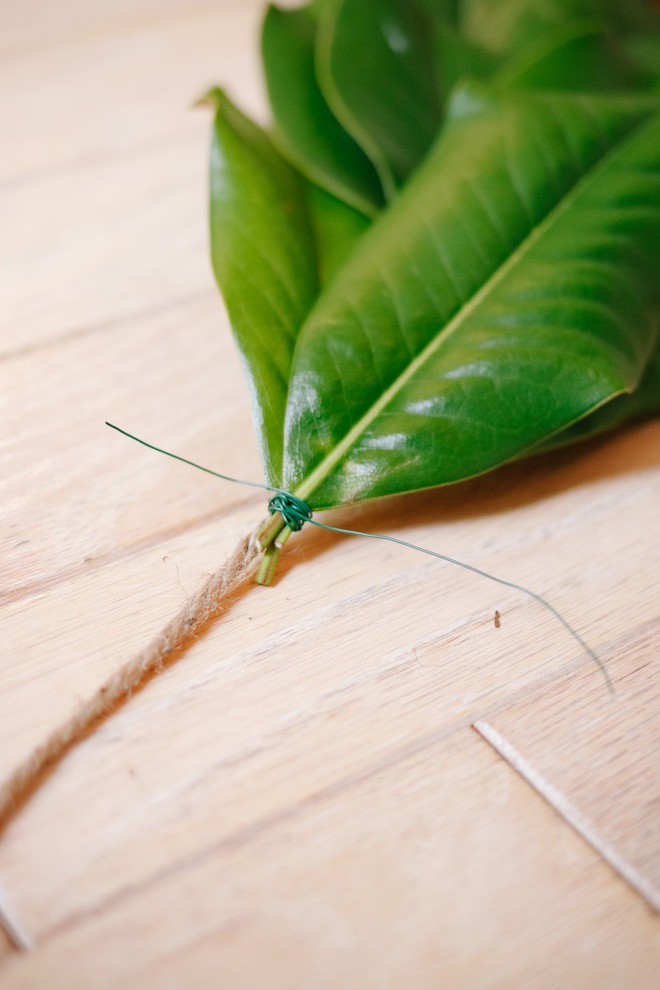
We layered the leave sets so they were overlapping each other on the twine just a little bit.
Not too much though.


We had to stop for food breaks of course.
Because all that Minecraft will make a boy hungry I tell ya.
We decided to give the garland an extra special touch by spraying it lightly with gold spray paint. Make sure you don’t saturate them in spray paint. Just do a mist of spray over it!
It adds the perfect bit of gold.
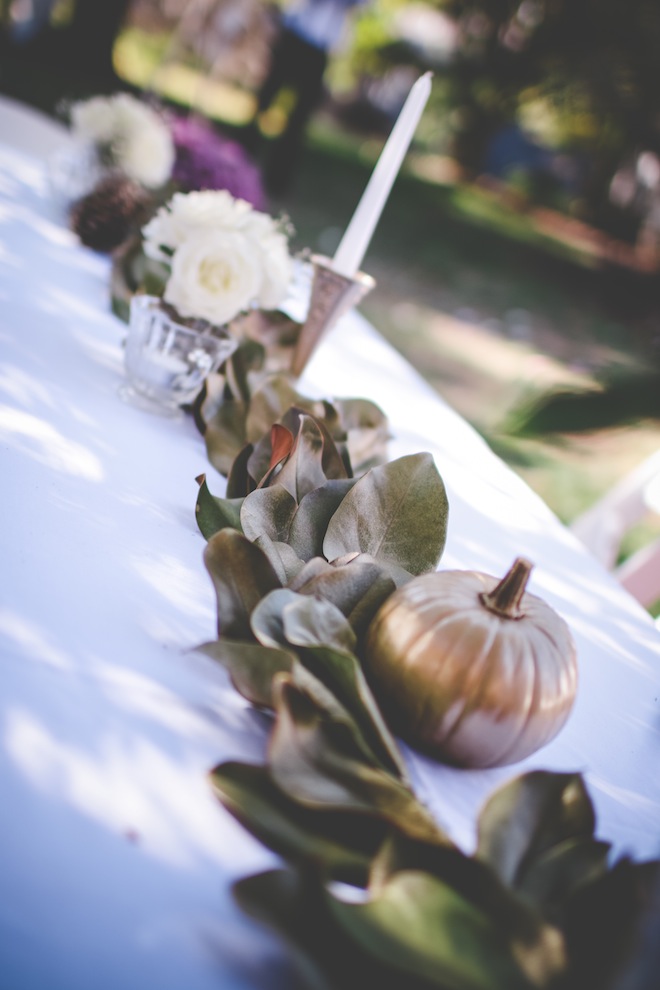
And there you have it. Magnolia Garland. Done and done.
It was perfect paired with the gold pumpkins and purple mums. And the best part? It was nearly free minus the cost of the twine, wire and spray paint. Which is cheap for table center pieces.
It would be just as pretty paired with any kind of Christmas decor too!

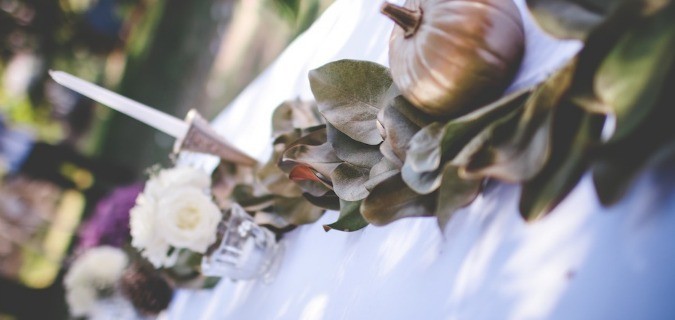
How pretty! I love homemade things like this at weddings, it’s adds a nice touch.
I absolutely love this idea! While I sure miss my magnolia trees from my adventures in the South, I will just have to find a way to adapt this concept for our more native evergreens here in Colorado.
Or…. I may just order magnolia tree leaves online. Because I do love the look and feel.
Thanks for sharing this how to!
That garland is so beautiful! How creative. You did an awesome job!! 🙂
I love this. Also, I loooove the sign in the second to last picture of this post. Where did your friend get it from? Thanks for sharing. Best Wishes, Marie 🙂
I got it at good ‘ol Hobby Lobby! 🙂 Thank you!
I LOVE this! As a former florist I commend you….how I WISH I had access to free foliage like Magnolia leaves. You did a beautiful job 🙂
Beautiful! I am hosting a big Christmas dinner at my house on Dec 23rd and would love to this. How far in advance did you make this? I’m worried about the leaves turning brown. I don’t mind if they turn a little bit, but I would prefer them to be mostly green.
Thanks,
Katie
These pictures are SO great! I just love this tutorial and, of course, all your sweet compliments! 🙂
Love this idea! How far before the wedding did y’all make this? Do the leaves turn brown?
About a week!
How early before the wedding did you make the garland my wedding is in a month I’ve been tryin To find out how early I can make one and it’ll still look fresh for the wedding