Today I am answering the ever so popular question…
“Where did you find those corner shelves?”
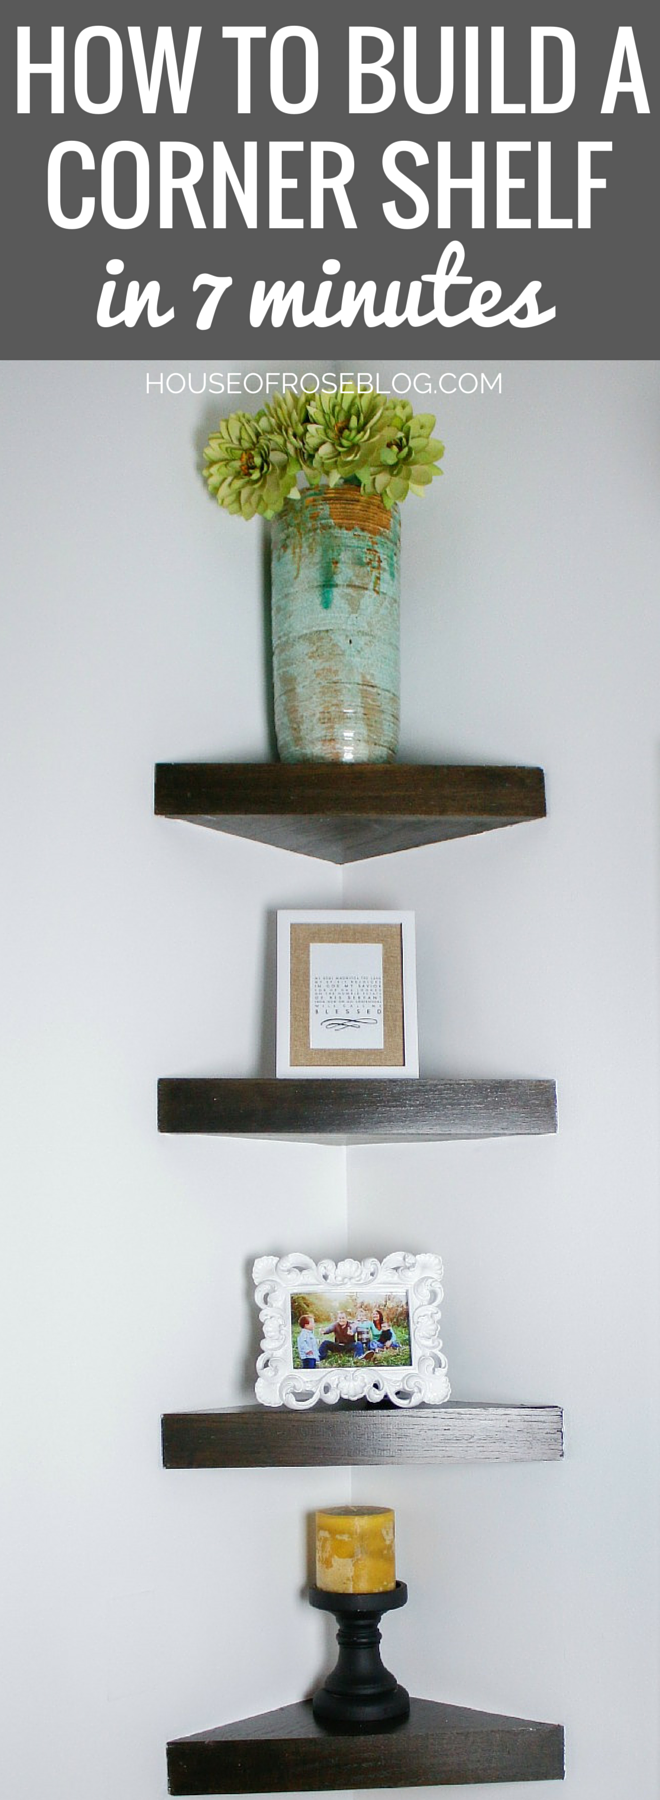
Instead of giving you the short answer, which would be…”Oh, my dad built them“…I thought it would be helpful if I posted a tutorial on HOW he built them. Yes, this required me to beg him to be on video. Luckily I’m a daddy’s girl {still} and he happily obliged.
Maybe not happily, but still.
You may remember the shelves I am referring to when I posted pictures of our master bedroom…
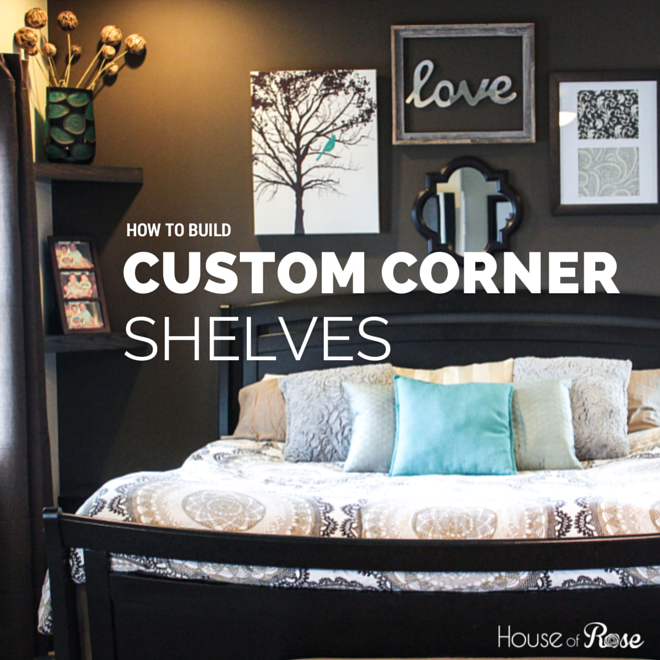

…or our powder room.
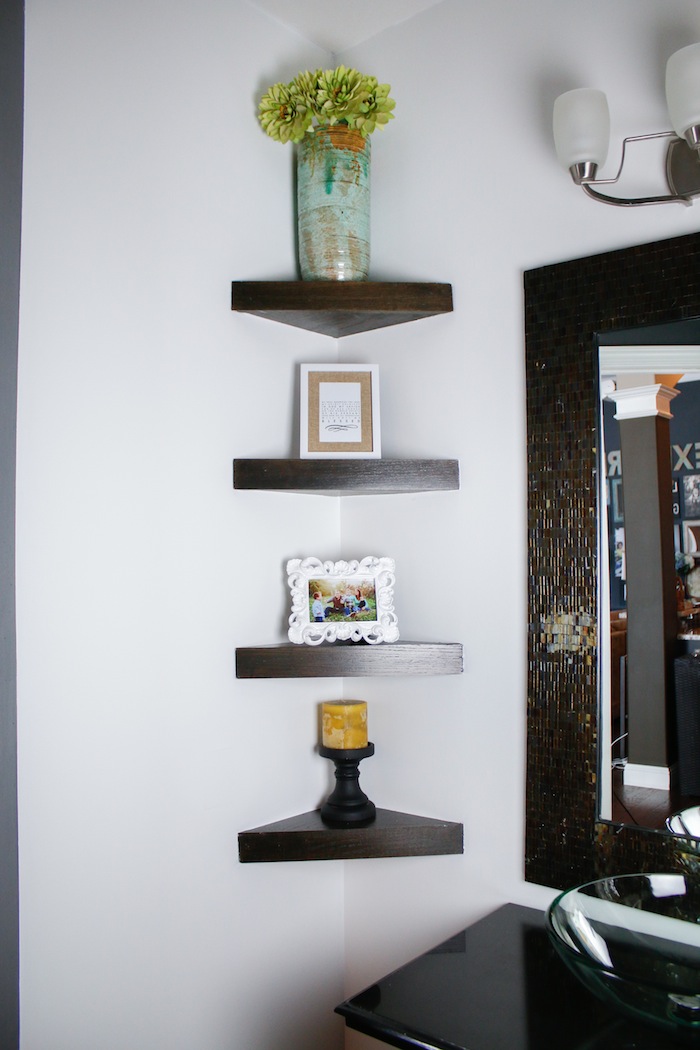

If you have ever wanted to learn how to make these yourself then you will love this tutorial by my dad.
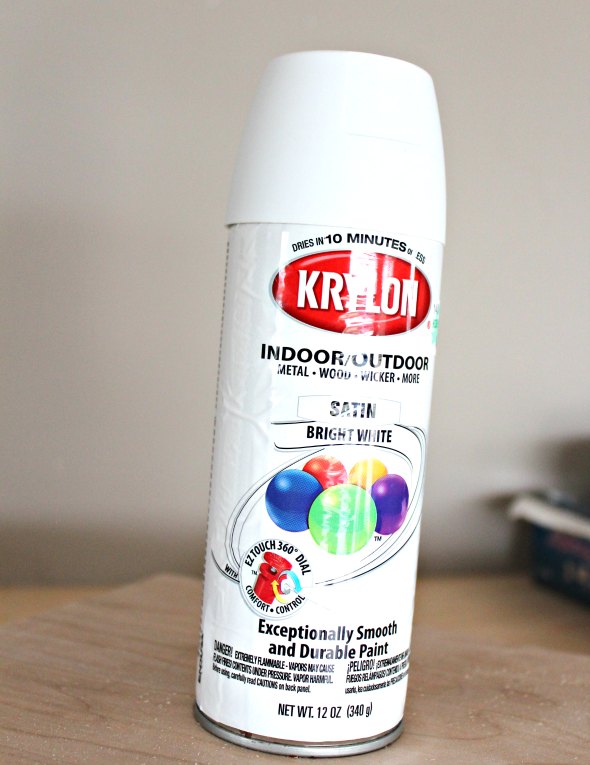
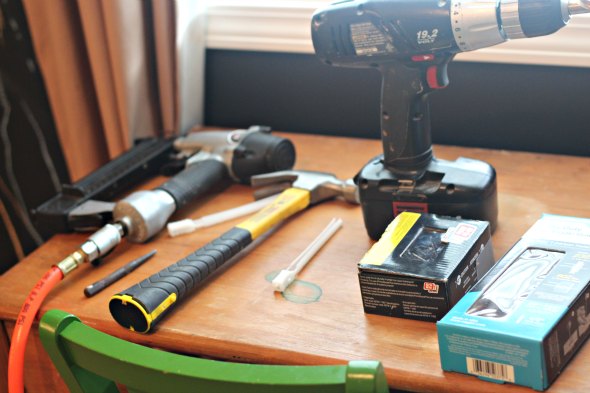
First let’s take a look at what you will need.
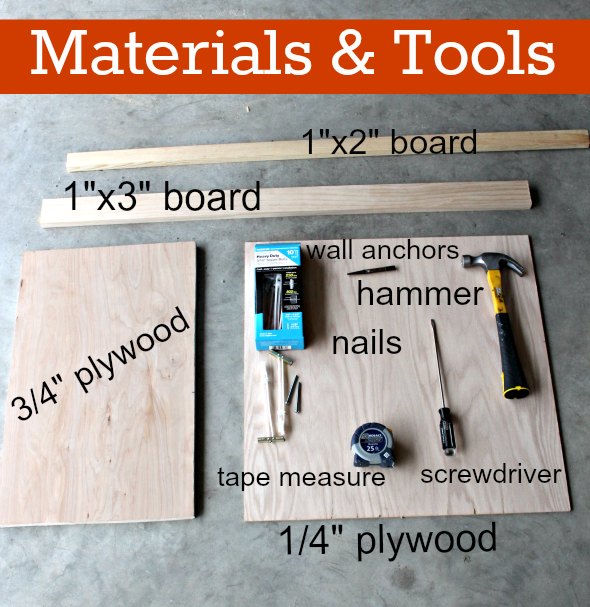
In case you like lists instead of pictures…
Materials List:
{1} 1″x2″ Board (frame material) {1} 1″x3″ Board (front shelf trim) {1} 3/4″ Plywood (shelf top) {1} 1/4″ Plywood (shelf bottom) {2} Wall Anchors (for mounting) Finish Nails 1 1/4″ or 1 1/2″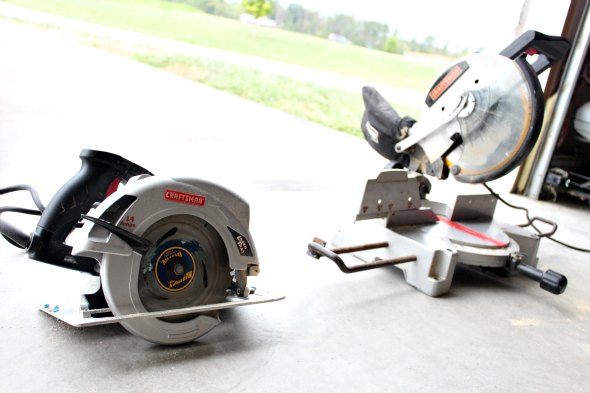
Tool List:
Saw (circular) Drill Miter Saw 3/16″ Drill Bit 1/2″ Drill Bit Tape Measure Hammer & Nail Set OR Finish NailerCUSTOM CORNER SHELF

{Complete Video Tutorial Below}
1. Determine overall desired width of shelf.
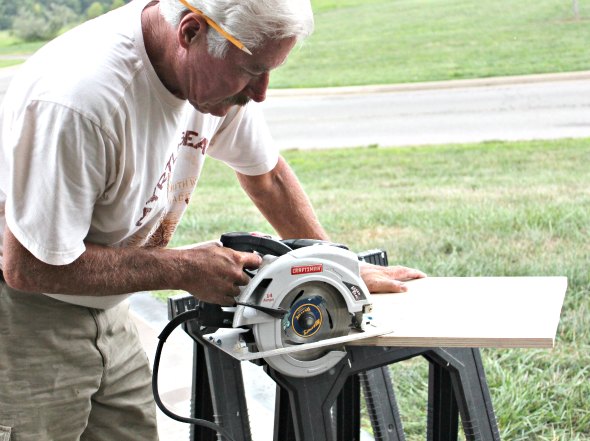
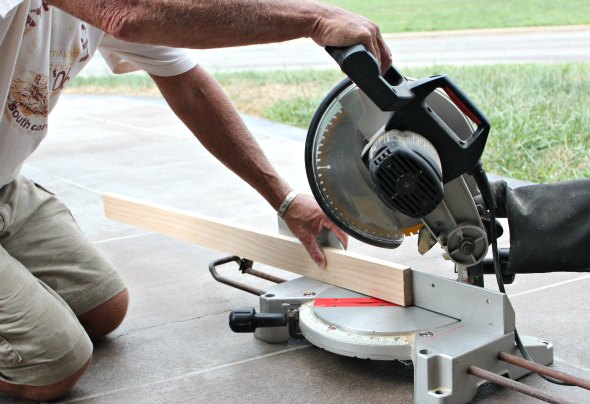
2. Cut 45 degree angle on end of 1″x3″ board.
3. From 45 degree angle measure & mark overall desired length.
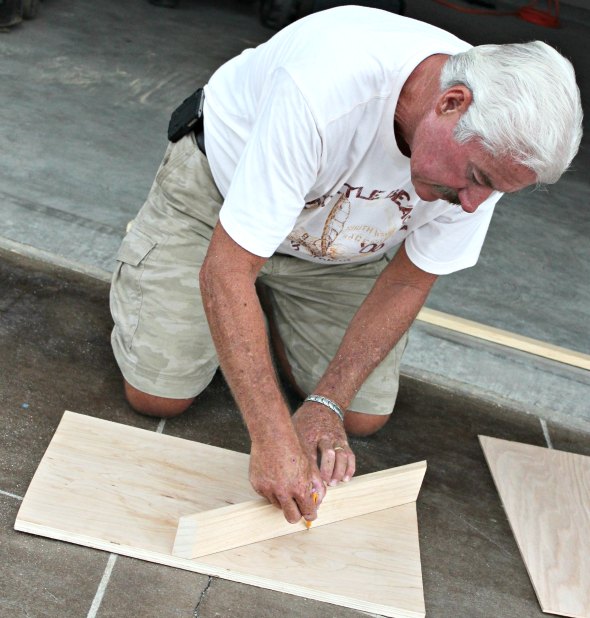
4. Cut another 45 degree angle at mark on 1″x3″ front piece.
5. Use this front piece to make the pattern for the remaining pieces as described in video.

6. Assemble Frame
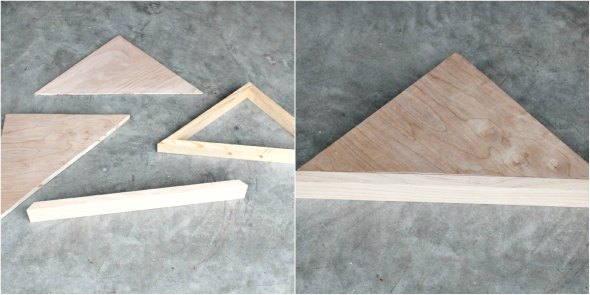
7. Paint or stain & finish the top, bottom, & front trim to desired finish.
8. Mount the frame to corner walls with wall anchors.

9. Attach the top of the shelf with finish nails.
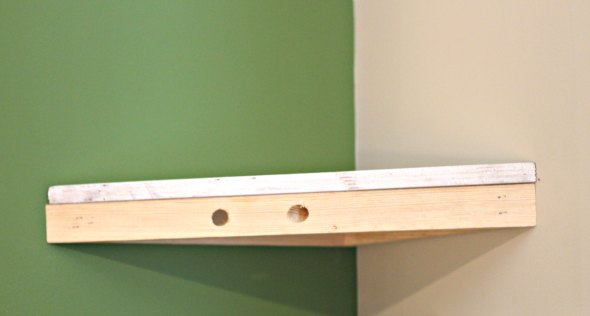
10. Attach the bottom of the shelf with finish nails.
11. Attach the front piece of trim with finish nails.
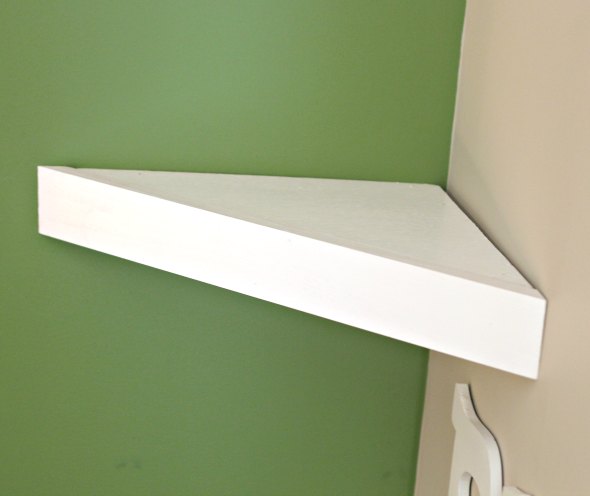
12. Touch up over the finish nails.
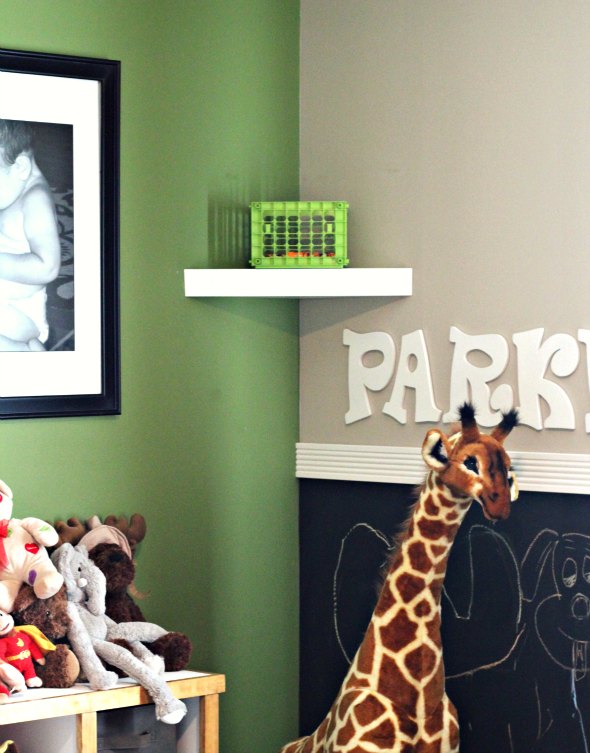
We built this corner shelf for Parker’s room to hold his chalk for his chalkboard wall…and also so that it was out of reach of Bam-Bam Bents. Just in case you were curious, 2.5 year olds think that EVERY wall becomes a chalkboard wall and they are also under the false belief that crayons are erasable.
Ahem.
Can we give a big huge group THANK YOU to my dad for making his first ever “vlog” appearance and doing an awesome job on showing YOU how to build a corner shelf in 7 minutes?!?! I may have him bust out some of his dance moves for you next time. If you thought J could dance, watch out because Poppy gets down!
What should I convince him to teach you next since he’s the real brains behind all these DIY projects? Let me know in the comment section below.
I bet if you are really convincing {and entice him with some Keystone Light} he will happily complete your requests and I won’t even have to beg.
You can see more of my projects here or check out our home tour.
*UPDATE: Our latest video, DIY Shiplap. You can also see how the corner shelves look in this bathroom.



hey, Mandy, Love these shelves and love your style as well! I might have to try this project!
Wow!! Thank you for making time on explaining the process step by step.. Nicely done!!
Thank you for the video. I don’t understand the anchor part though. Why do you break it off and what is the name of the anchors your using and where would I purchase them at?
Nice little shelf. Builder should have safety glasses on when sawing , drilling and using the nail gun
it was great came out perfect the first time thank you joebill crain
Ohhh yeah!!! Thank you very much to the dad of this blogger, those shelves it looks outstanding. Thanks for the great idea.
Making shelves in my room 12/27/18, and the video with your dad on YouTube and your blog post are the most comprehensive and easy to follow guide!! Thank you!