*Author – Jennifer Chou – Bumblebee Linens
I first learned about Mandy’s blog through my husband, Steve. He’s a financial blogger similar to Mandy’s husband, Jeff. His blog is My Wife Quit Her Job {and became an internet entrepreneur} if you want to check it out.
So earlier this year after Steve met the Roses at a blogging conference, he came home telling me all about Mandy’s blog and how cool it was. {insert Mandy – THANK YOU STEVE…you are too kind!}
In reality, I think he was trying to hint that I should start a blog of my own but the main thing I immediately noticed was that they have a fabulous looking house. And don’t tell my husband, but he was absolutely right, the House Of Rose Blog is a fantastic resource for home decorating ideas. And what’s so funny is that he now wishes he never mentioned the blog to me because I’ve been on a mass decorating spree ever since.
In fact, I’m now super motivated to redecorate my entire house. And from a financial blogger point of view, that’s never a good thing, since redecorating usually equates to higher spending.
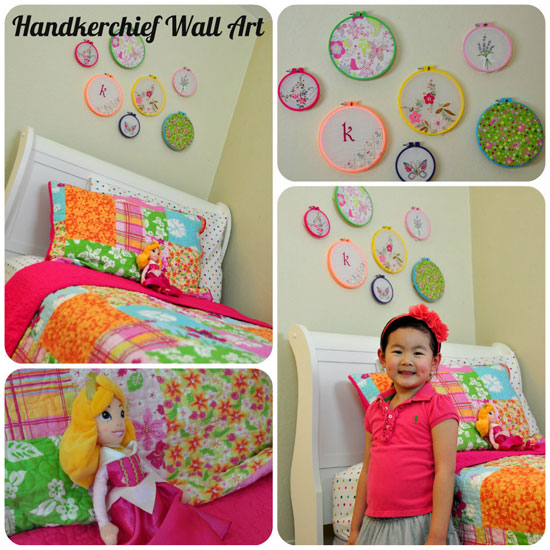
One of the first projects I’m taking on is my five year old daughter’s room. I think it’s the perfect time since last week, we moved her into her own big girl bed. And since we had to purchase a new twin size bed and bedding for her, I thought now would be a good time to finish the room and make it look “House Of Rose Blog” worthy, instead of the half finished toddler room that it was.
Since my daughter loves everything pink (and princesses), I knew I had to incorporate pink into her decor. But I didn’t want so much pink that it would look like someone threw up Pepto-Bismol all over it. So I kept her room cream and decided to go with bright pink accents instead.
The first thing I did was pick a cute Hawaiian inspired bedspread that was predominantly pink but had other colorful colors on it. I also moved her pink toddler chair that was in our playroom, into a corner to create a small reading nook.
But the thing that ties everything together is the wall art I created above her bed. This piece of art has special significance to me, because it’s made using handkerchiefs. And I happen to I own a small online business selling wedding and ladies handkerchiefs.
In fact, I started my business when I found out I was pregnant with my daughter. The goal of the business was to provide income, so that I could stay at home with her after she was born. So this little piece of art is a special nod to my business and the joys of parenthood.
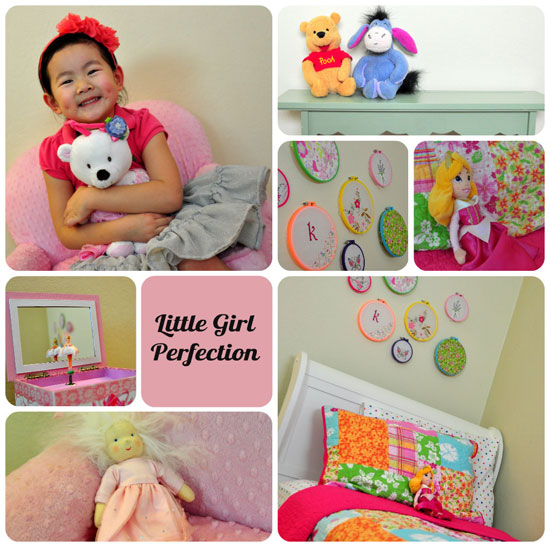
If you would like to create this wall art yourself, it’s super easy and requires no-sewing. How awesome is that? Plus the only materials you need for the craft is handkerchiefs and some embroidery hoops.
Handkerchiefs are great for crafts because they are visually appealing to the eye and the embroidery adds texture and come in a wide range of colors. Plus, they are super affordable and cute. And if you want to add an extra special touch, you can even have your handkerchiefs personalized
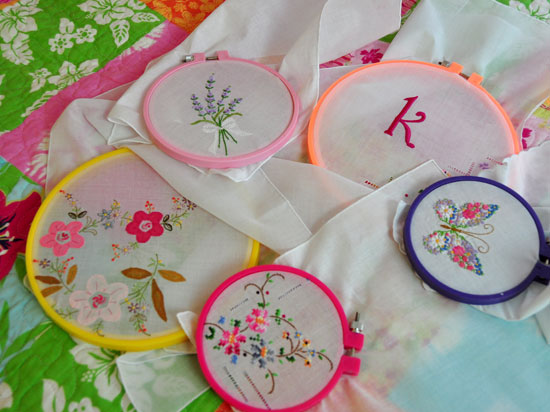
The other main component of this craft is the cute pastel embroidery hoops that I found at Joann’s Fabric. To create visual interest, I used a variety of 7″, 5″ and 4″ hoops. You can also use wood embroidery hoops but I would suggest painting them to add a little pizzazz.
First thing I did was pick cute coordinating hankies that matched her bedspread. And since I love monograms, I also added one handkerchief that I stitched with her initial in hot pink.
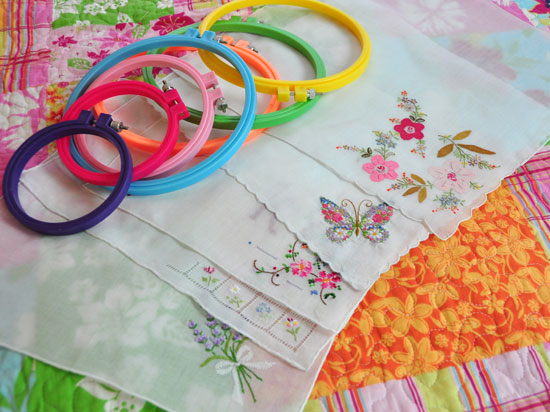
Once you have picked out your handkerchiefs, you will then need to decide which handkerchief goes to which embroidery hoop.
After that, it’s just a matter of hooping each handkerchief, by laying it face up on top of each inner hoop. You will then place the outer hoop on top and push down firmly.
You will want to make sure that all the embroidery hoop screws are aligned at the top. Once hooped, you will finish by pulling the hankie fabric taught and trim off the excess fabric on the back.
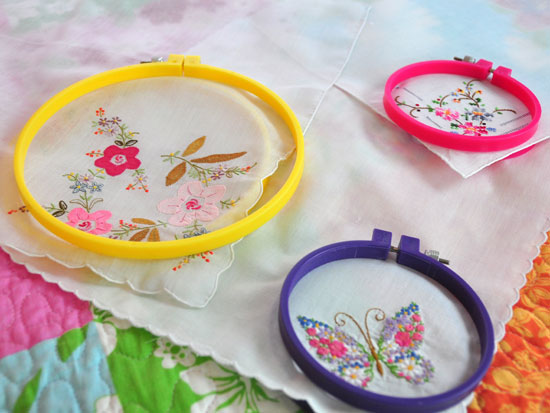
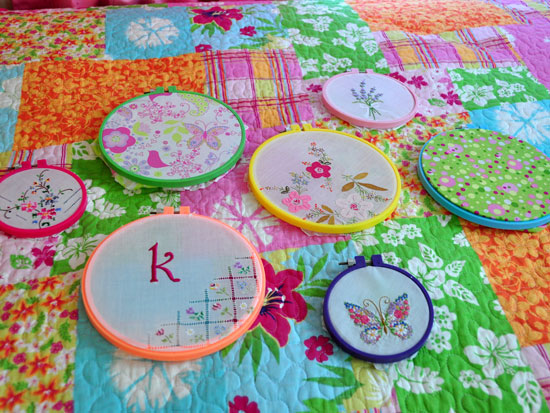
When you are ready to hang up the art, be sure to lay out your design on a flat surface first. This will help eliminate unnecessary holes in your wall and give you an idea of what the art will look like up.
Finally, nail the embroidery hoops to the wall using a small nail. Simple, right?
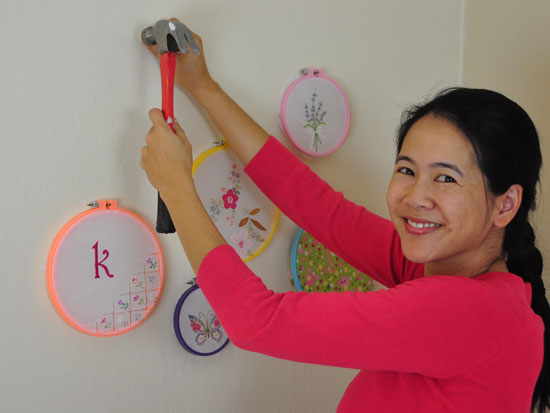
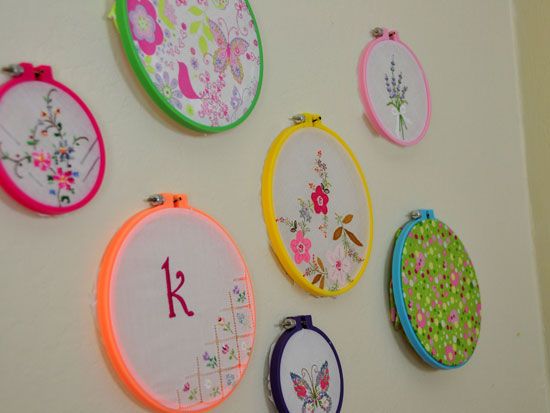
I think it turned out lovely and it’s perfect for a little girl’s room. Now on to the rest of the house.
This post was written by Jennifer Chou, proud mommy of two and owner of Bumblebee Linens.

Such a great way of decorating a girl`s room! Love the idea of taking a fabric you like and making it into small pieces of art to decorate the wall!