*Author and House of Rose Contributor – Jessica Philippo, from One July Living.
If you’ve been following along in the More than a Snapshot Series, you might be thinking THERE ARE TOO MANY RULES, HOW WILL I REMEMBER THEM ALL?!
Well, I have some good news and some bad news for you.
First the bad news…the rules of the exposure triangle aren’t going to change. Like ever.
They are and will remain the fundamentals of capturing the images that you envy. So, read back through the earlier posts in the series, consider picking up a copy of “Rules of Exposure”, and most importantly – practice.
The silver lining is that there will be a day where it will all become second-nature to you. The day that setting your ISO, shutter speed, and aperture will be like choosing a filter on Instagram – easy but far more rewarding! Please send me a note when you have your big “ah-ha” moment! I would love to hear about it.
And now, here’s the good news… I have a NEW rule to teach you (the good part is coming, I promise). It’s an important one to know, but it’s one you’re allowed to BREAK! It’s called the rule of thirds.

There’s a saying in the photography world – “Know the rules, then decide when to break them.”
The rule of thirds is your first opportunity in the More than a Snapshot series to be a rebel.
But first things first. Step 1 – KNOW THE RULE.
So what IS the rule of thirds?
The rule of thirds is all about composition. Composition is how you position the subjects and elements in the frame of your image.
The basic principle of the rule of thirds is that you divide your frame into thirds both vertically and horizontally, creating a grid of 9 equal parts. On many cameras you will see (or have the option to make this grid visible) as you look through the viewfinder.
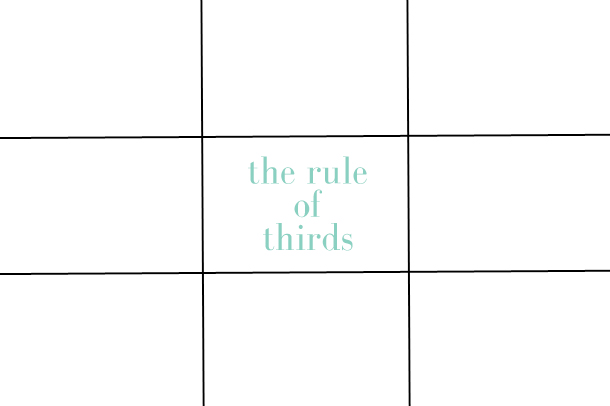
The rule of thirds suggests that the intersecting points in the grid should serve as a guideline for where to put your elements of interest – instead of simply placing your subject in the center and snapping the picture.
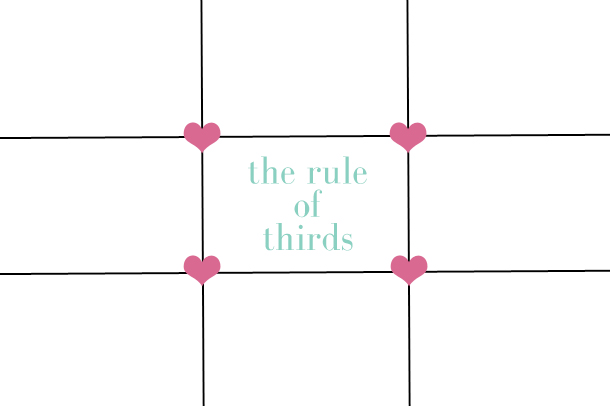
And why do you care about the rule of thirds?
The rule of thirds:
- Forces you to take pictures more intentionally (this is a GOOD thing!)
- Creates more interest in your images.
- Is one more tool in your belt to get you to the “wow” images we’re working toward.
Let’s look at some examples…
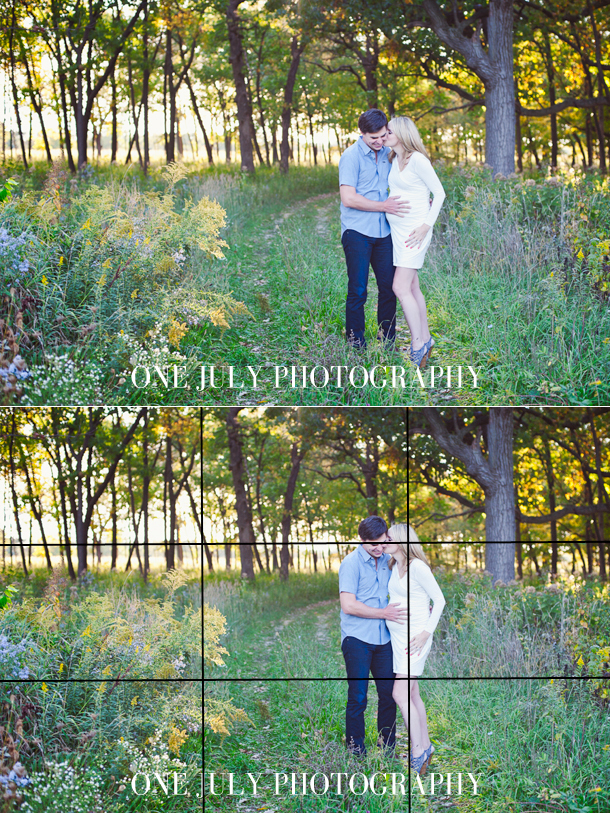
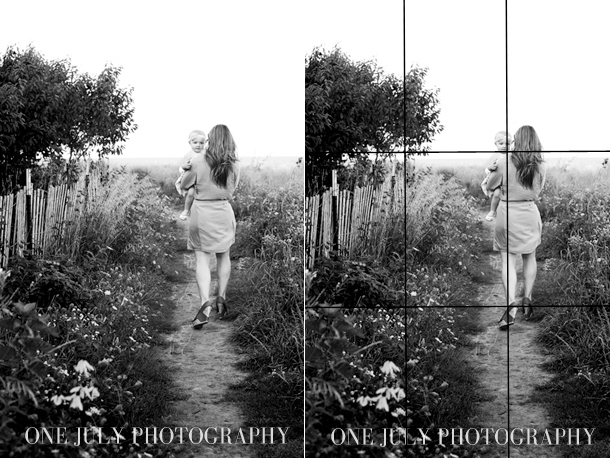
Note the rule can be applied to both horizontal and vertical images.
Step 2 – INTERPRETING THE RULE.
The first two image examples I showed you to demonstrate the rule of thirds are pretty textbook. But you might be scratching your head and asking yourself questions like:
“So am I NEVER supposed to center my subject according to this rule?”
“Sure, one point of interest is easy, but what about when there are multiple points of interest in my image?”
Both are great questions. So now that you UNDERSTAND the rule, it’s time to start interpreting the rule.
Let’s look at the following example… a glowing bride at her wedding reception. I want that gorgeous face front and center. But notice, the connection between the bride and the groom… the groom’s hand on her shoulder is so simple yet speaks a thousand words. And since it falls within one of the rule of thirds intersecting points… your eye bounces from the center of the photograph and then over to that connection. Take a look…
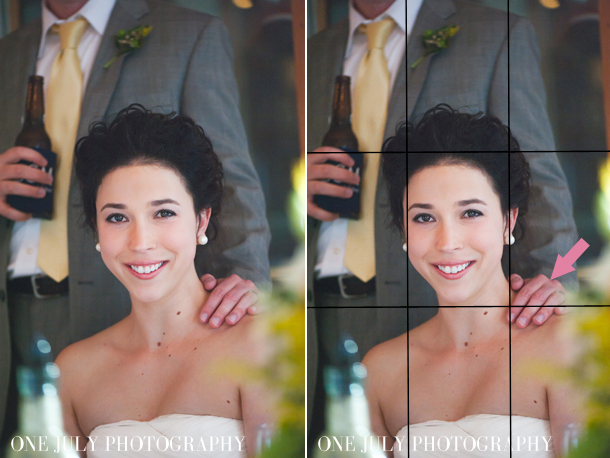
Cool, huh?
Here’s another for you…
A new family of 3. Sweet baby girl is centered, and each of her adoring parents are roughly placed at rule of third intersections. YES, this was totally intentional! I took the rule of thirds into consideration, and then put my own twist on it.

Step 3 – DECIDING WHEN TO BREAK THE RULE.
Now it’s your turn to be a rebel. One of the amazing things about photography is that two people will never create the exact same image. That’s because we ALL see the world differently. And your vision may not always comply with the rule of thirds. Simple as that. No harm, no foul.
The rule of thirds is simply another tool in your photography belt. Sometimes a centered image just works.

Go experiment with the rule of thirds and explore YOUR vision!
_____________________________________________________________________
This is post number 4 in a series of posts on how to take better pictures. To check out the previous posts see below:
- 3 Steps To Better Pictures Without Changing A Single Camera Setting
- Introduction to Manual Mode: Discover Light in a Whole New Way
- Understanding Aperture: Getting Some of That Buttery Goodness
Make sure and PIN this to your photography board for future reference…you know…so when you bust out your camera and completely forget what Jessica just taught us. For that time.


I like sprinkled donuts too…and treat myself frequently when pregnant. 🙂 Love these photography tutorials. I need all the help I can get with picture taking!
Great tip! Now I need to go figure out how to get that grid on our camera.