There’s a light at the end of the long winter tunnel! What better time to master some new photography tricks in preparation for all of the awesomeness of spring? The park at sunset, blowing bubbles, rolling in the grass…ahhhh – These are the things that make my photographer and mama heart sing.
But capturing your family’s memories shouldn’t have to stop just because we’re stuck indoors through the cold of winter! And if you’ve been putting the last post into practice, you may have learned by now – shooting indoors comes with some challenges.
After you uploaded the pictures of your kiddos playing with bubbles in the tub or sipping their hot chocolate after a snow day, did you notice something…odd?
Did your kid look as icy blue as the icicle outside your window?
Or have an orangey glow like they found (and emptied) your stash of self-tanner?
This little photography dilemma is what we call white balance.

Simply explained, white balance is the setting that affects the accuracy of the colors in your image. Your camera will handle different lighting sources in different ways. Yet again, we have another example where understanding LIGHT is key to understanding photography. In particular, artificial lighting found indoors can wreak havoc on your prized memories.
To learn about this function let’s take a look at the white balance options in your camera’s menu. Note: icons and descriptions may differ slightly from different camera models and brands. Take out your trusty camera manual if you have questions about the options found in your own white balance menu.
WHITE BALANCE ICONS/SETTINGS
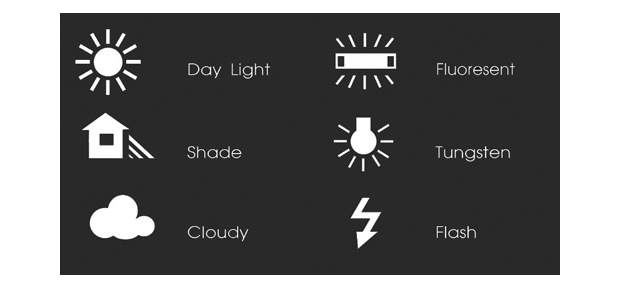
AUTO – your camera evaluates the scene and sets the white balance
DAYLIGHT – typically around 5500 degrees Kelvin (a metric for measuring color)
CLOUDY – your camera adds warmth to the image
SHADE – your camera adds even more warmth to the image than the “cloudy” setting
TUNGSTEN – your camera adds cool (blue) tones
FLUOURESCENT – your camera adds magenta tones
FLASH – typically slightly cooler (more blue) than DAYLIGHT
CUSTOM – White balance is manually set by the user with tools like an Expodisc or Gray Card. In my example, I used an Expodisc.
To help me with my demonstration, I’ve recruited the newest member of the One July crew who joined us in December!
For the first part of our experiment, I took images of my daughter in her nursery with only natural light coming in through the window.
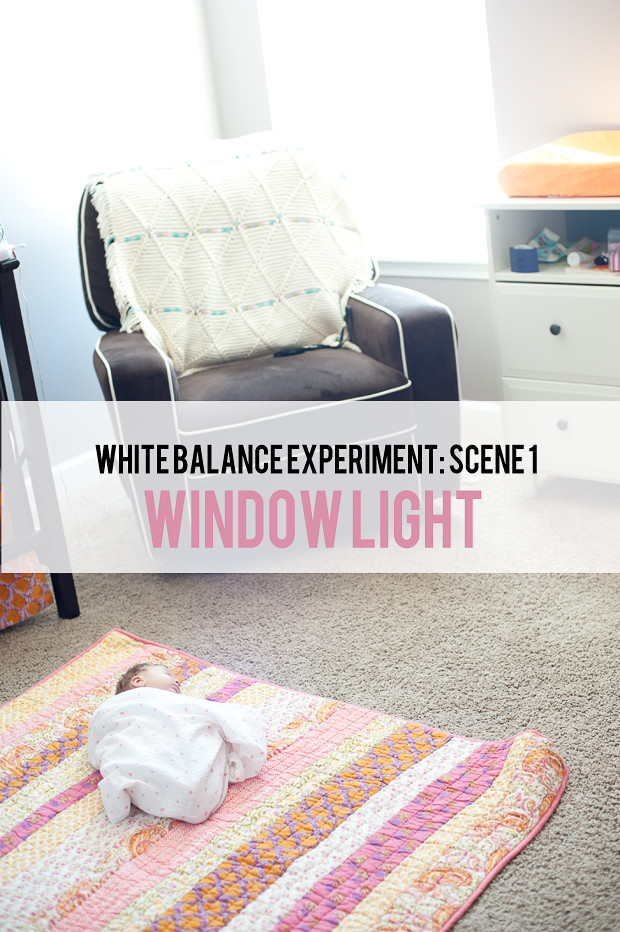
After manually setting my exposure, I did not change any settings on my camera except for the white balance. Let’s take a look at the results…
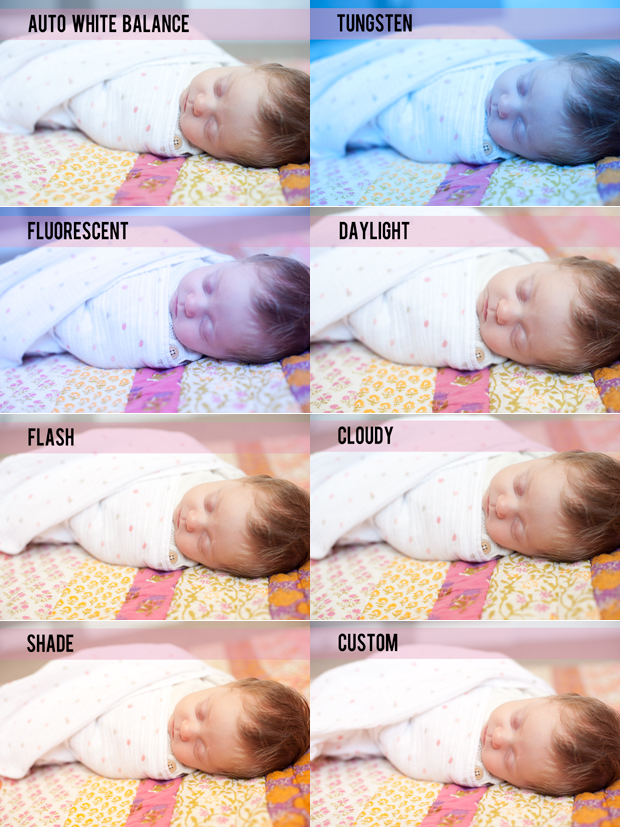
Because this was a natural light scenario, my camera handled the white balance pretty darn well simply set on AUTO White Balance. The custom setting is SLIGHTLY better because it picks up the true warmth of the scene.
But now let’s look at scene 2 of our experiment. Keeping it real, I took the following set of pictures from my bathroom. Not a single window, and only the lights over my sink to illuminate the scene…
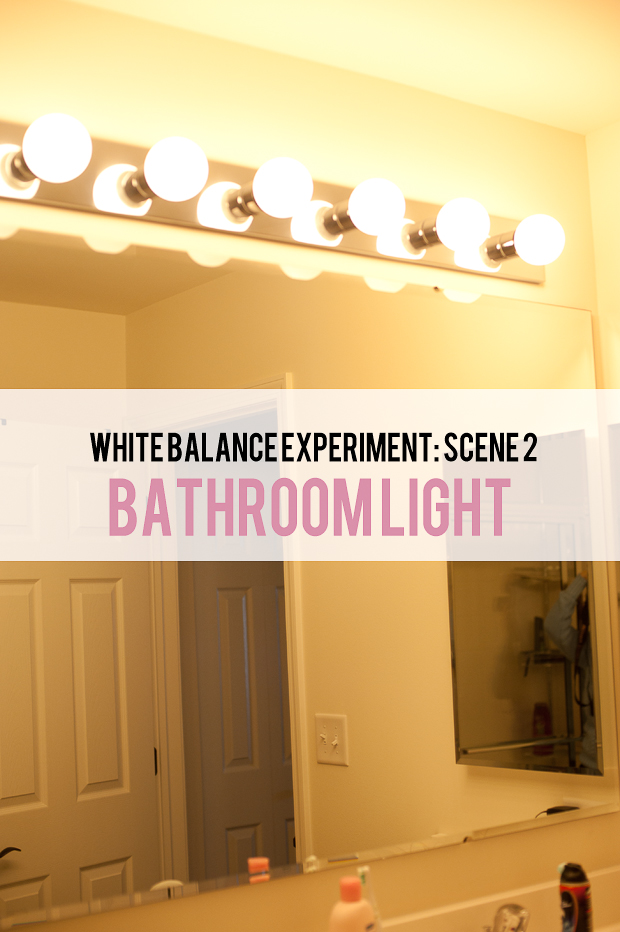
Once again, my camera settings did not change with the exception of the white balance settings…
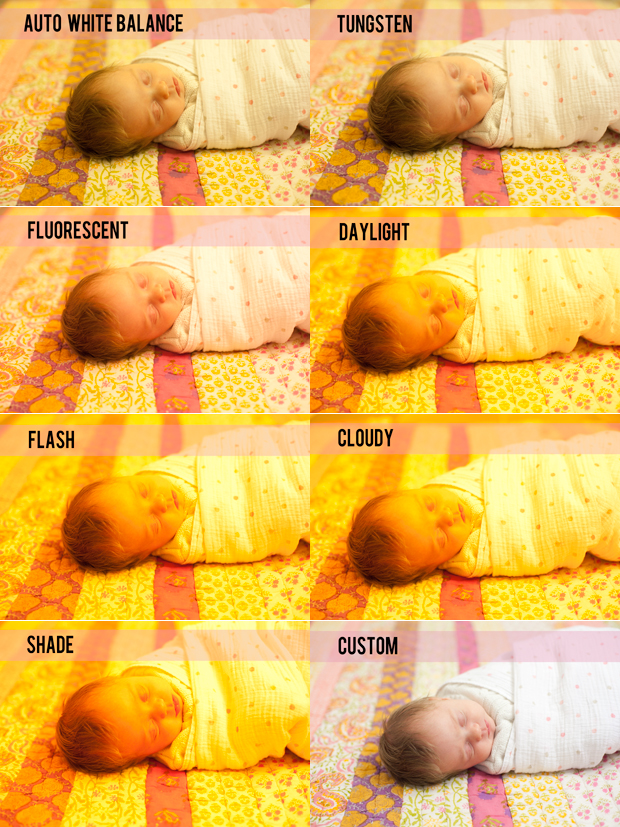
In this case, your white balance setting will TRANSFORM your image because my camera isn’t smart enough to read the artificial lighting correctly. Cool, huh?
Start experimenting with your own camera in the white balance menu and see what you come up with!
__________________________________________________________
This is post number 6 in a series of posts on how to take better pictures. To check out the previous posts see below:
- 3 Steps To Better Pictures Without Changing A Single Camera Setting
- Introduction to Manual Mode: Discover Light in a Whole New Way
- Understanding Aperture: Getting Some of That Buttery Goodness
- Rule of Thirds
- Tips for Indoor Photography
Make sure and PIN this to your photography board for future reference…you know…so when you bust out your camera and completely forget what Jessica just taught us. For that time.


Great tutorial! I typically leave my WB settings on Auto, and then manually adjust the WB after I shot the image in the post processing phase (which is one of the reasons I like to shoot in RAW).